Sinikka's snippets

Finland and travelling, a woman's life, cultures, languages, photography plus family recipes


2 Comments

My banana bread – comfort food at its best

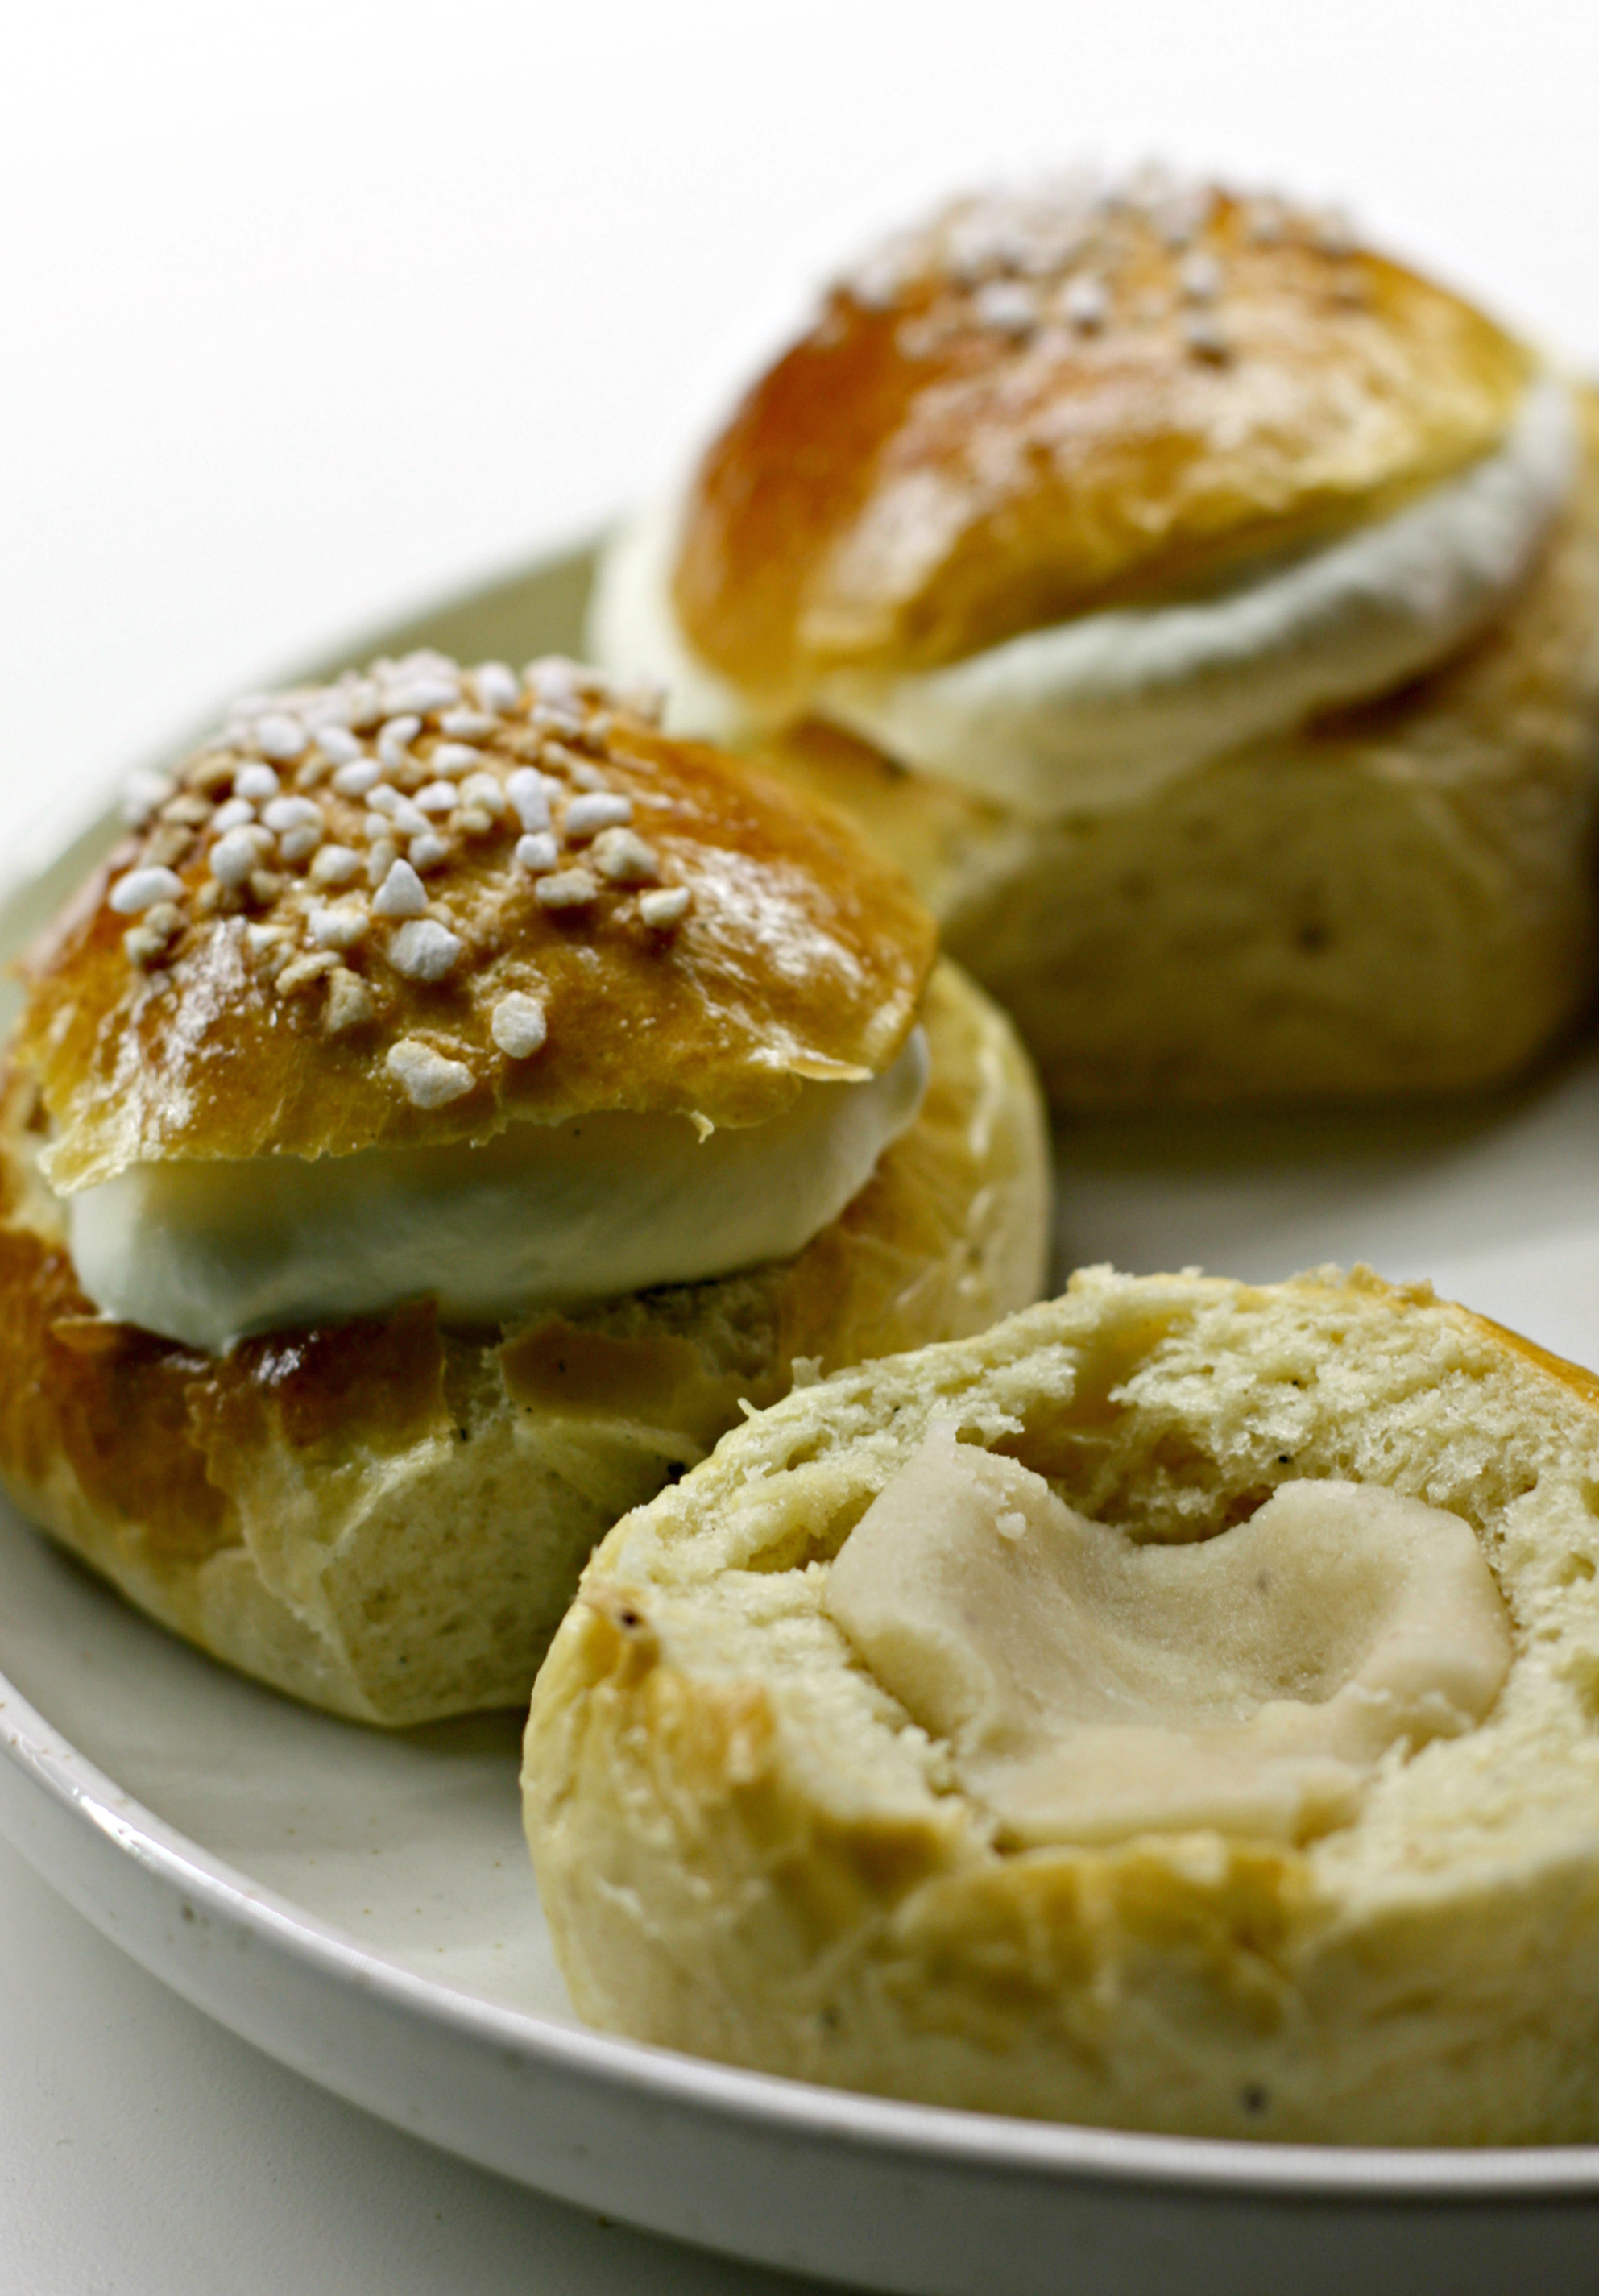
Here in Finland we are not very accustomed to any type of British-style ‘tea bread’. If we want something to enjoy with coffee or tea, it’s usually an open sandwich, or the traditional ‘pulla’ if you fancy something sweet. Yet, living in a Finnish-British family, I soon got to know all the nice British goodies for tea time.

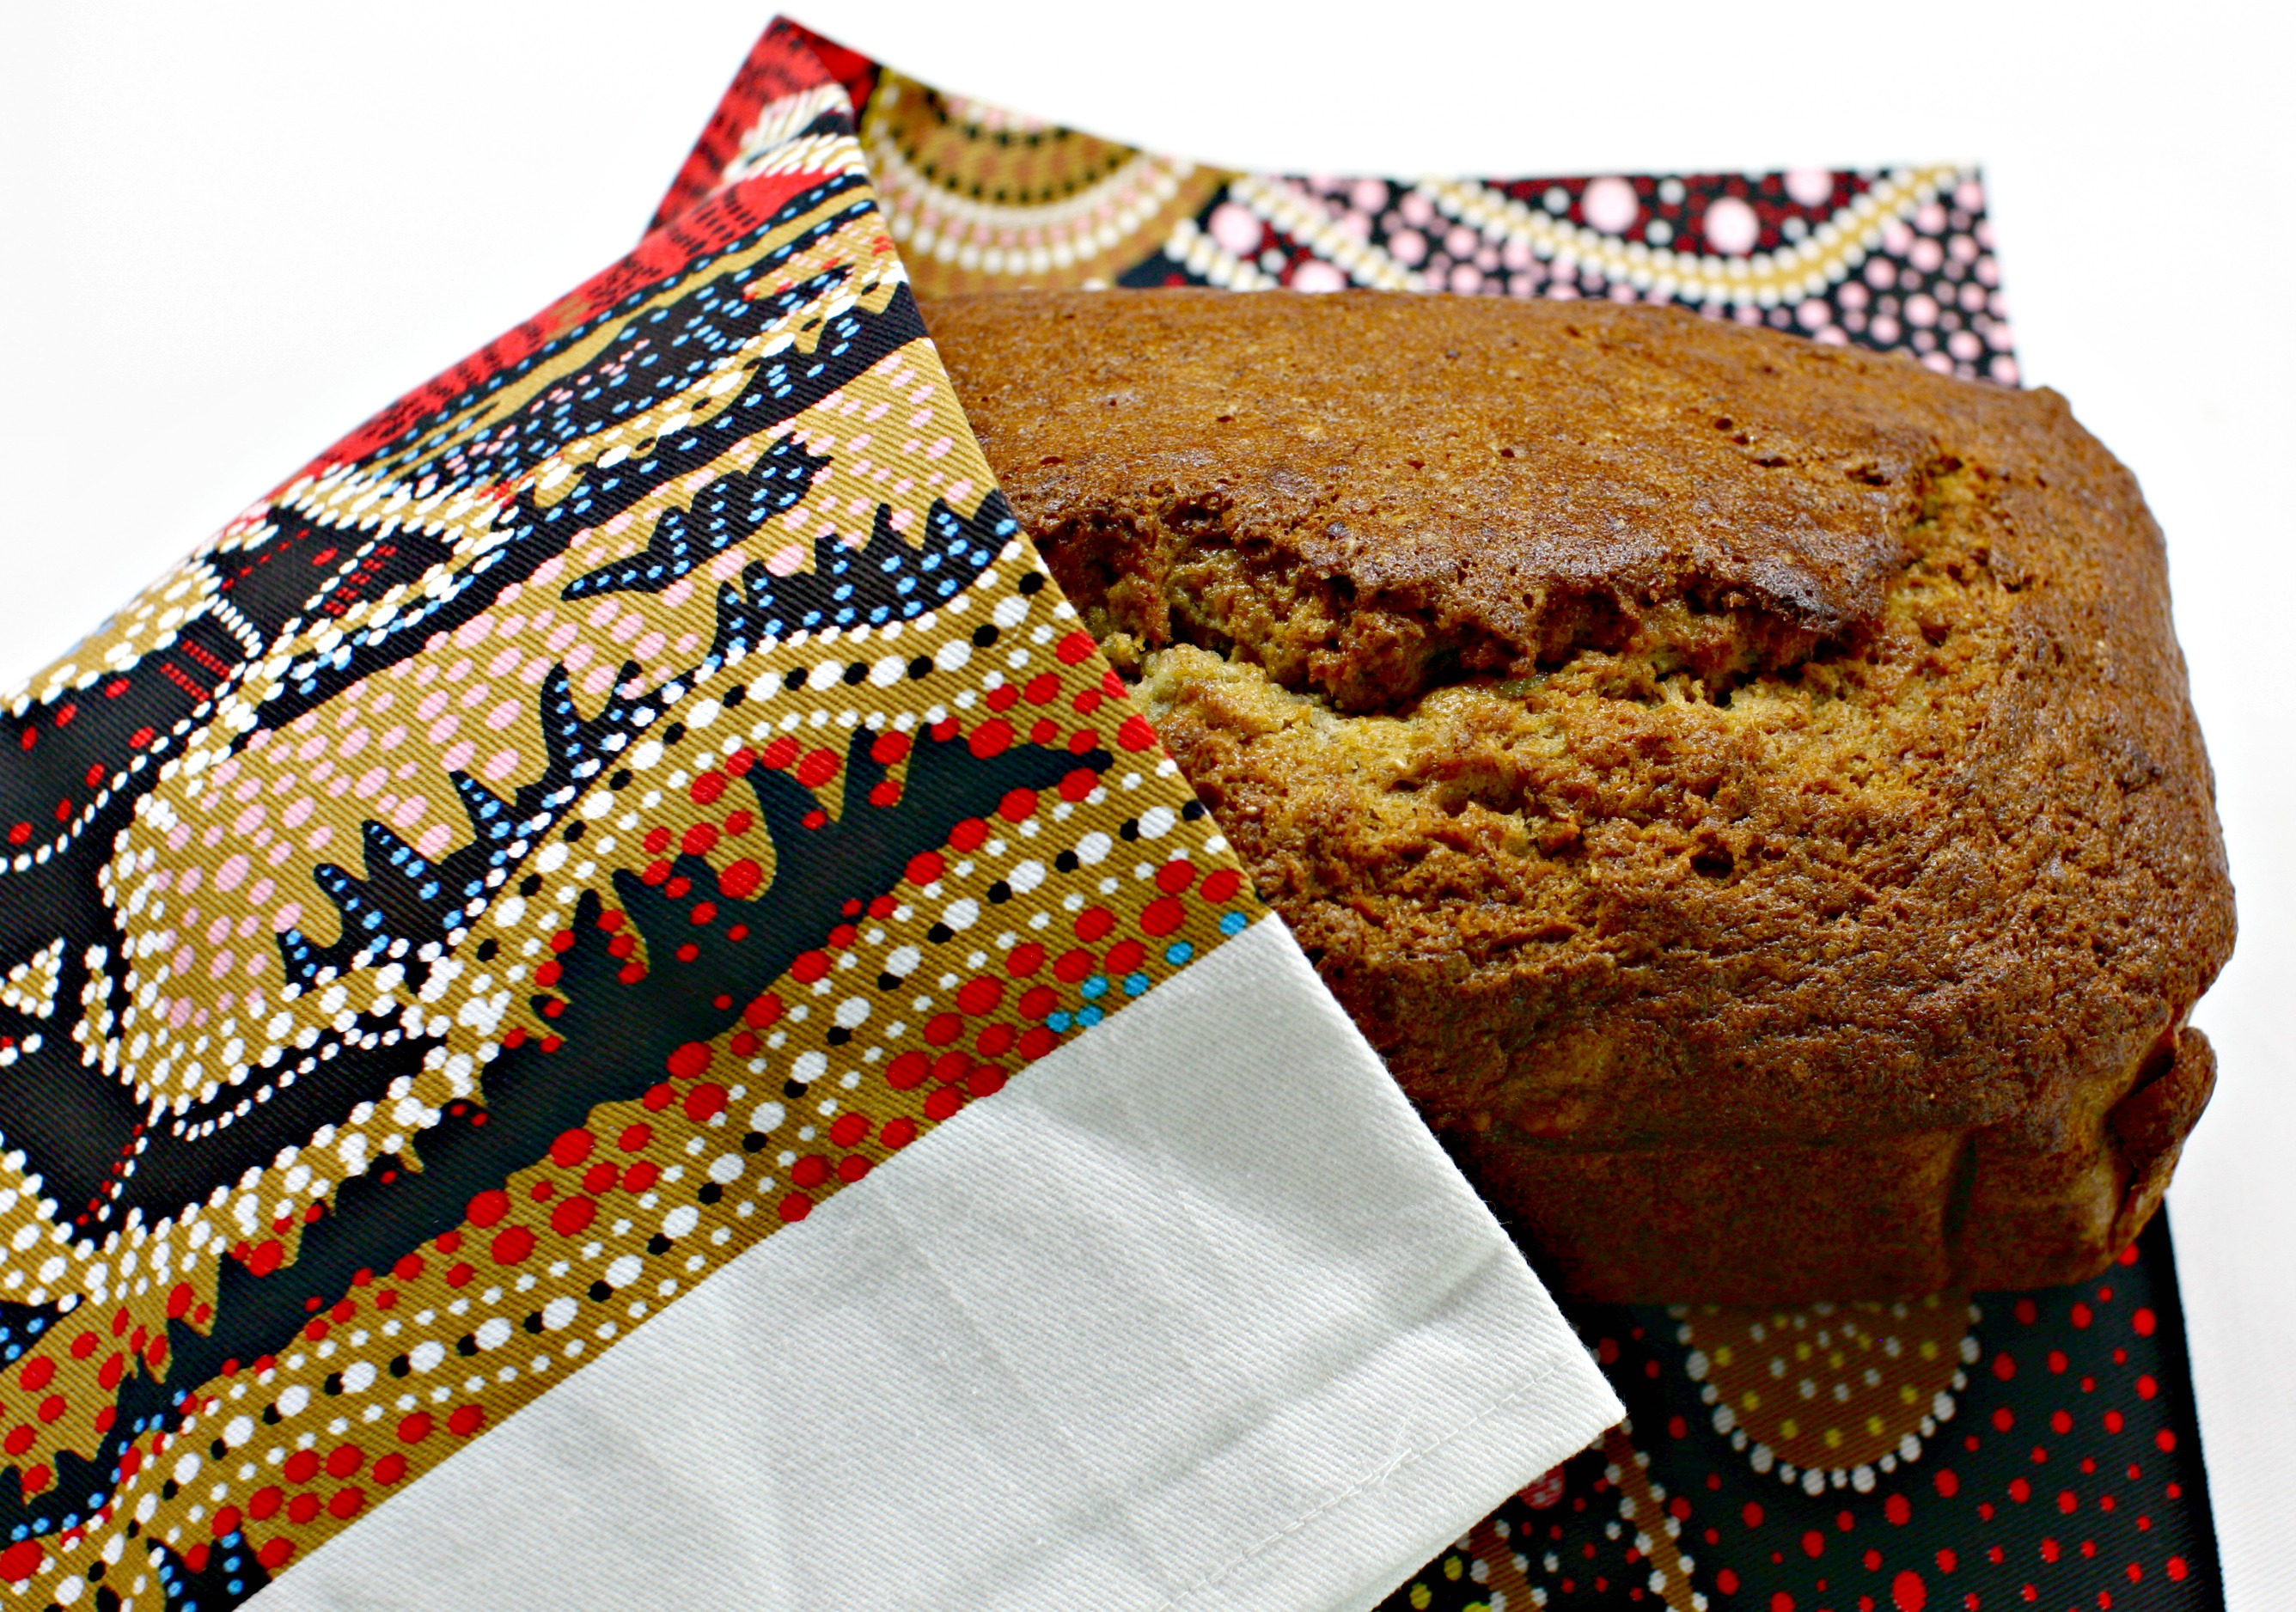
I once found this recipe in an old English home baking book, and have gradually developed it for my liking. Even though it’s baked in a loaf tin, and called ‘bread’, for me it’s still more like ‘cake’, due to its sweetness. When our daughter was small, this soon became our staple for the many long road trips we went on around Europe. I usually baked at least two, wrapped them in foil, and that would be our breakfast and snack during the trip. It keeps well, thanks to the moisture from the bananas, and is nourishing and comforting.

INGREDIENTS

  • 120 g butter
  • 120 g caster sugar
  • 2 eggs
  • 120 g plain flour
  • 1 tsp bicarbonate soda
  • 1/4 tsp salt
  • 1 tsp ground cinnamon
  • 55 g wholewheat flour
  • 3 large ripe bananas (I always buy fair trade or organic)
  • 1 tsp vanilla essence (or vanilla sugar)
  • 55 g chopped walnuts (I chop mine rough as I like a crunchy consistency)

THIS IS WHAT YOU DO

  • with an electric mixer, cream the butter and sugar until light and fluffy
  • add the eggs, one at a time
  • mix together the plain flour, soda, salt and cinnamon, and add to the mixture
  • stir in the wholewheat flour
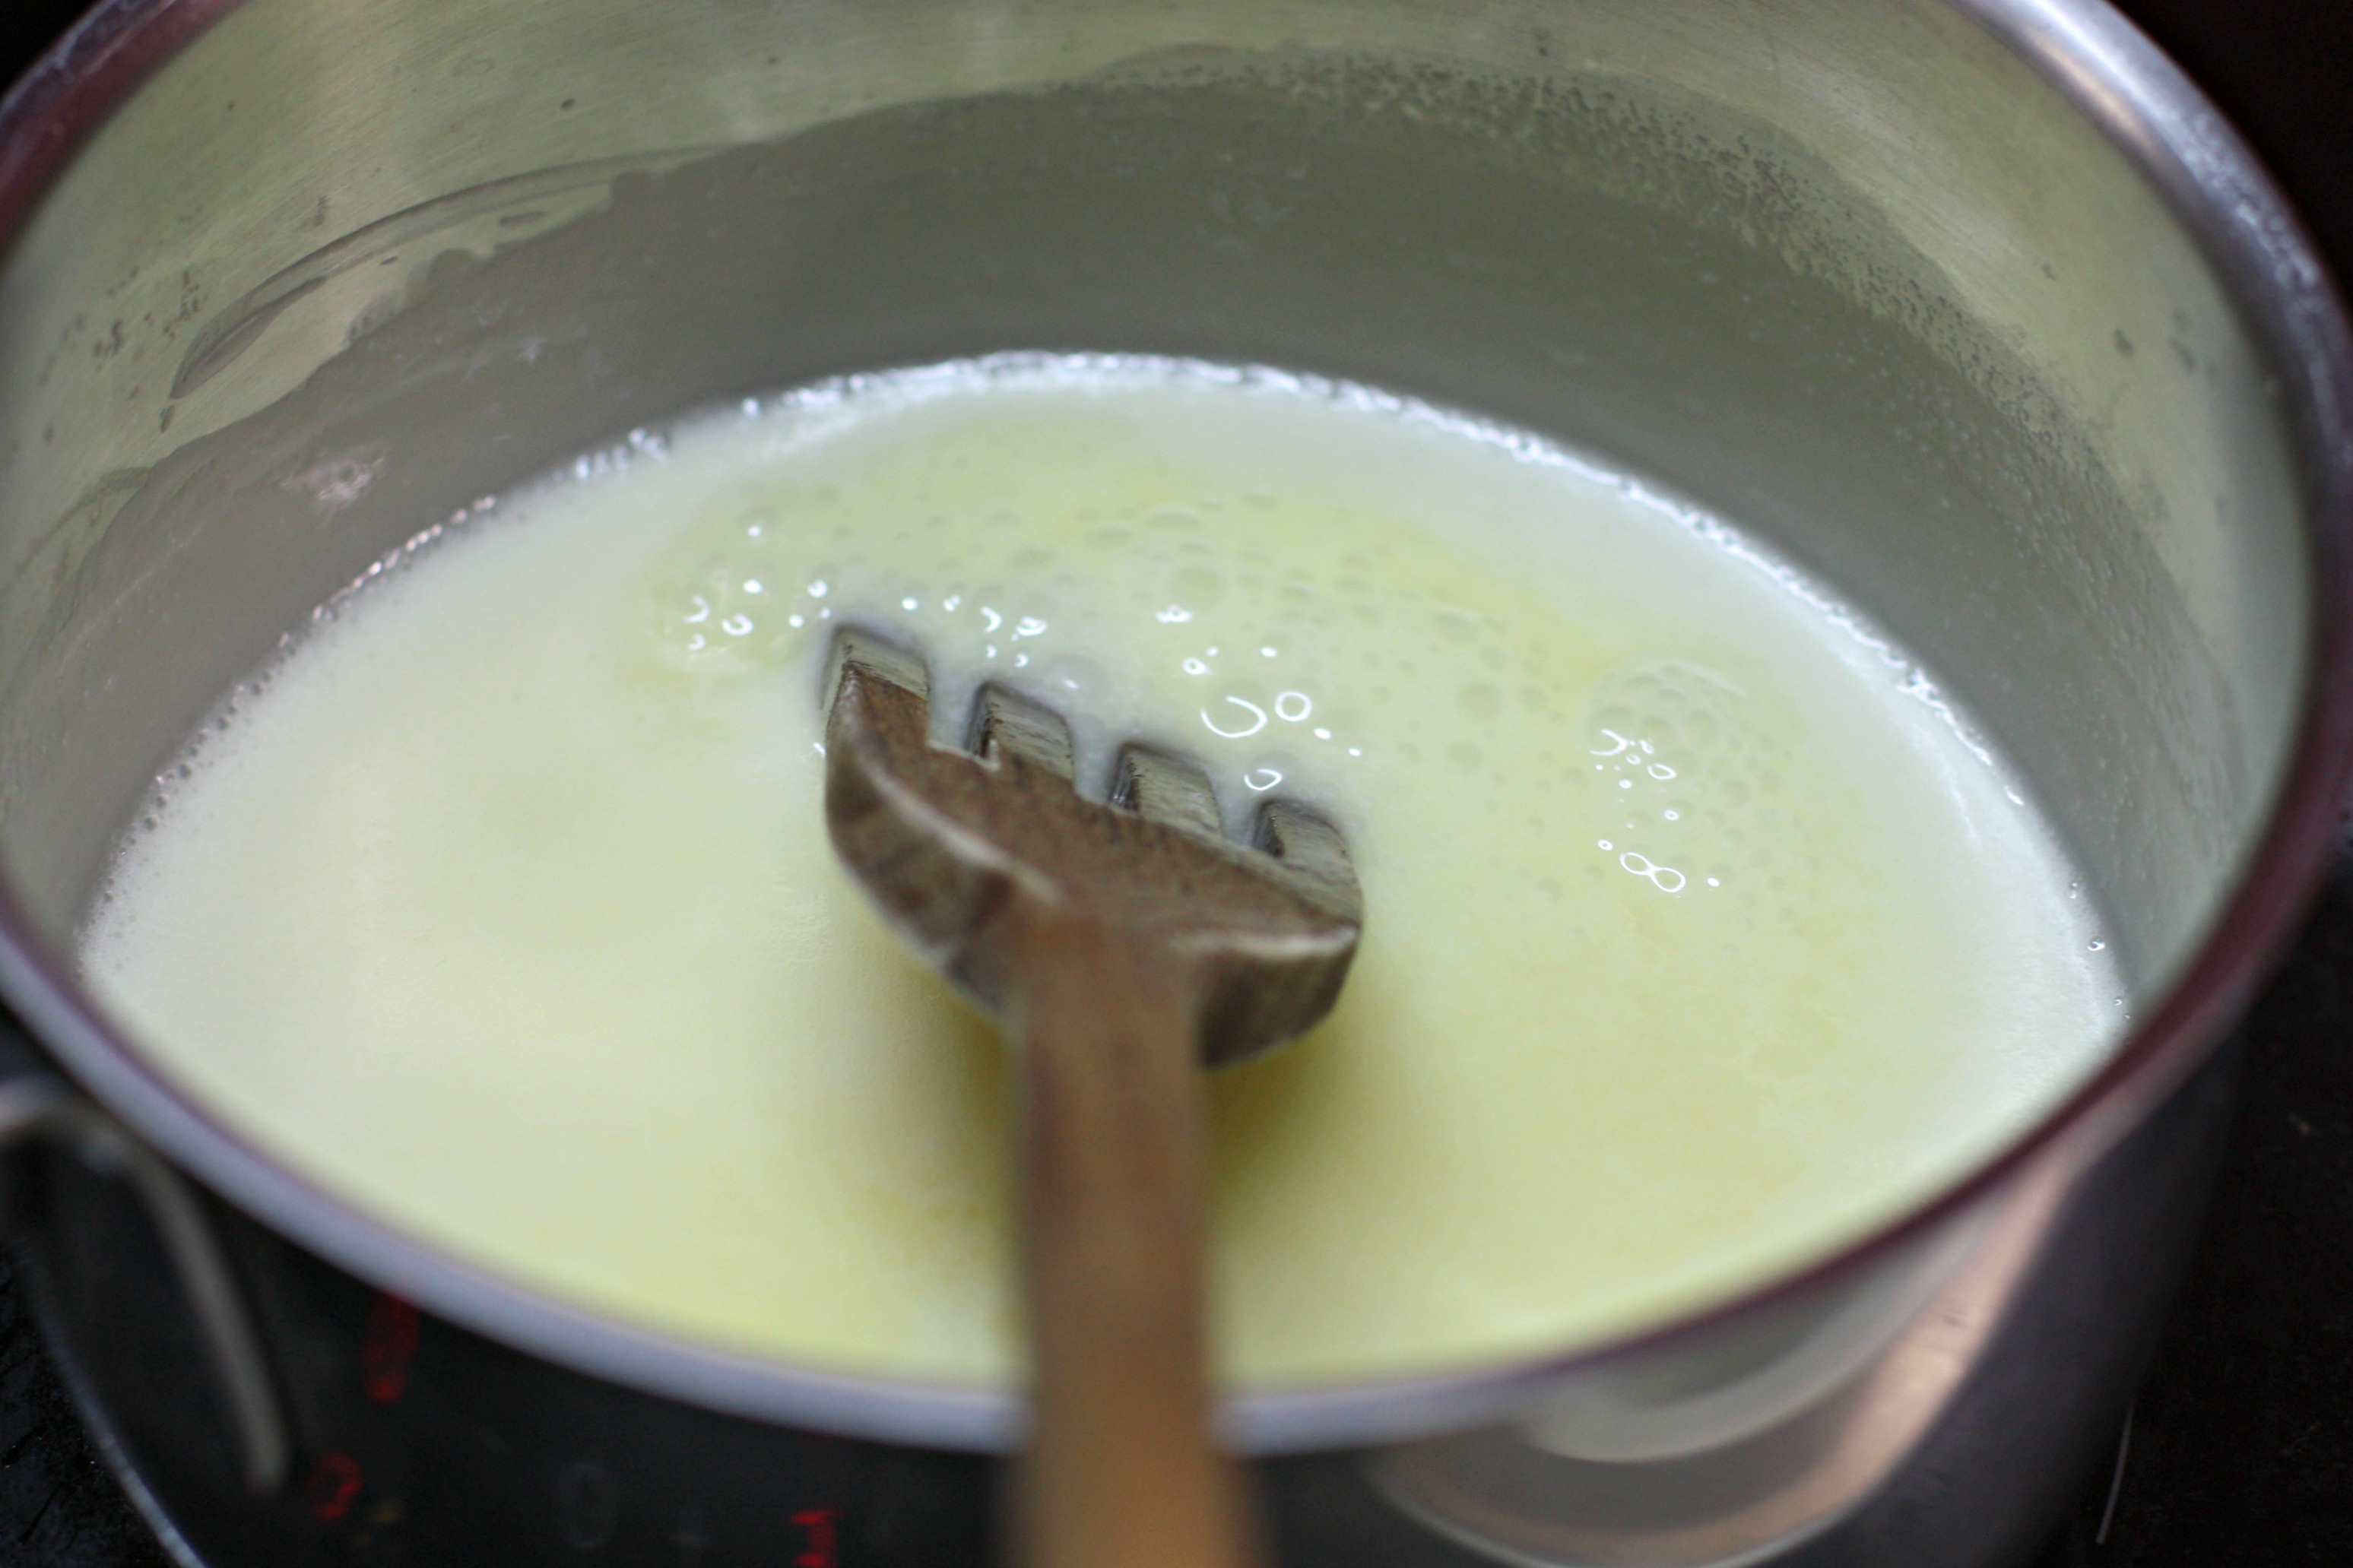
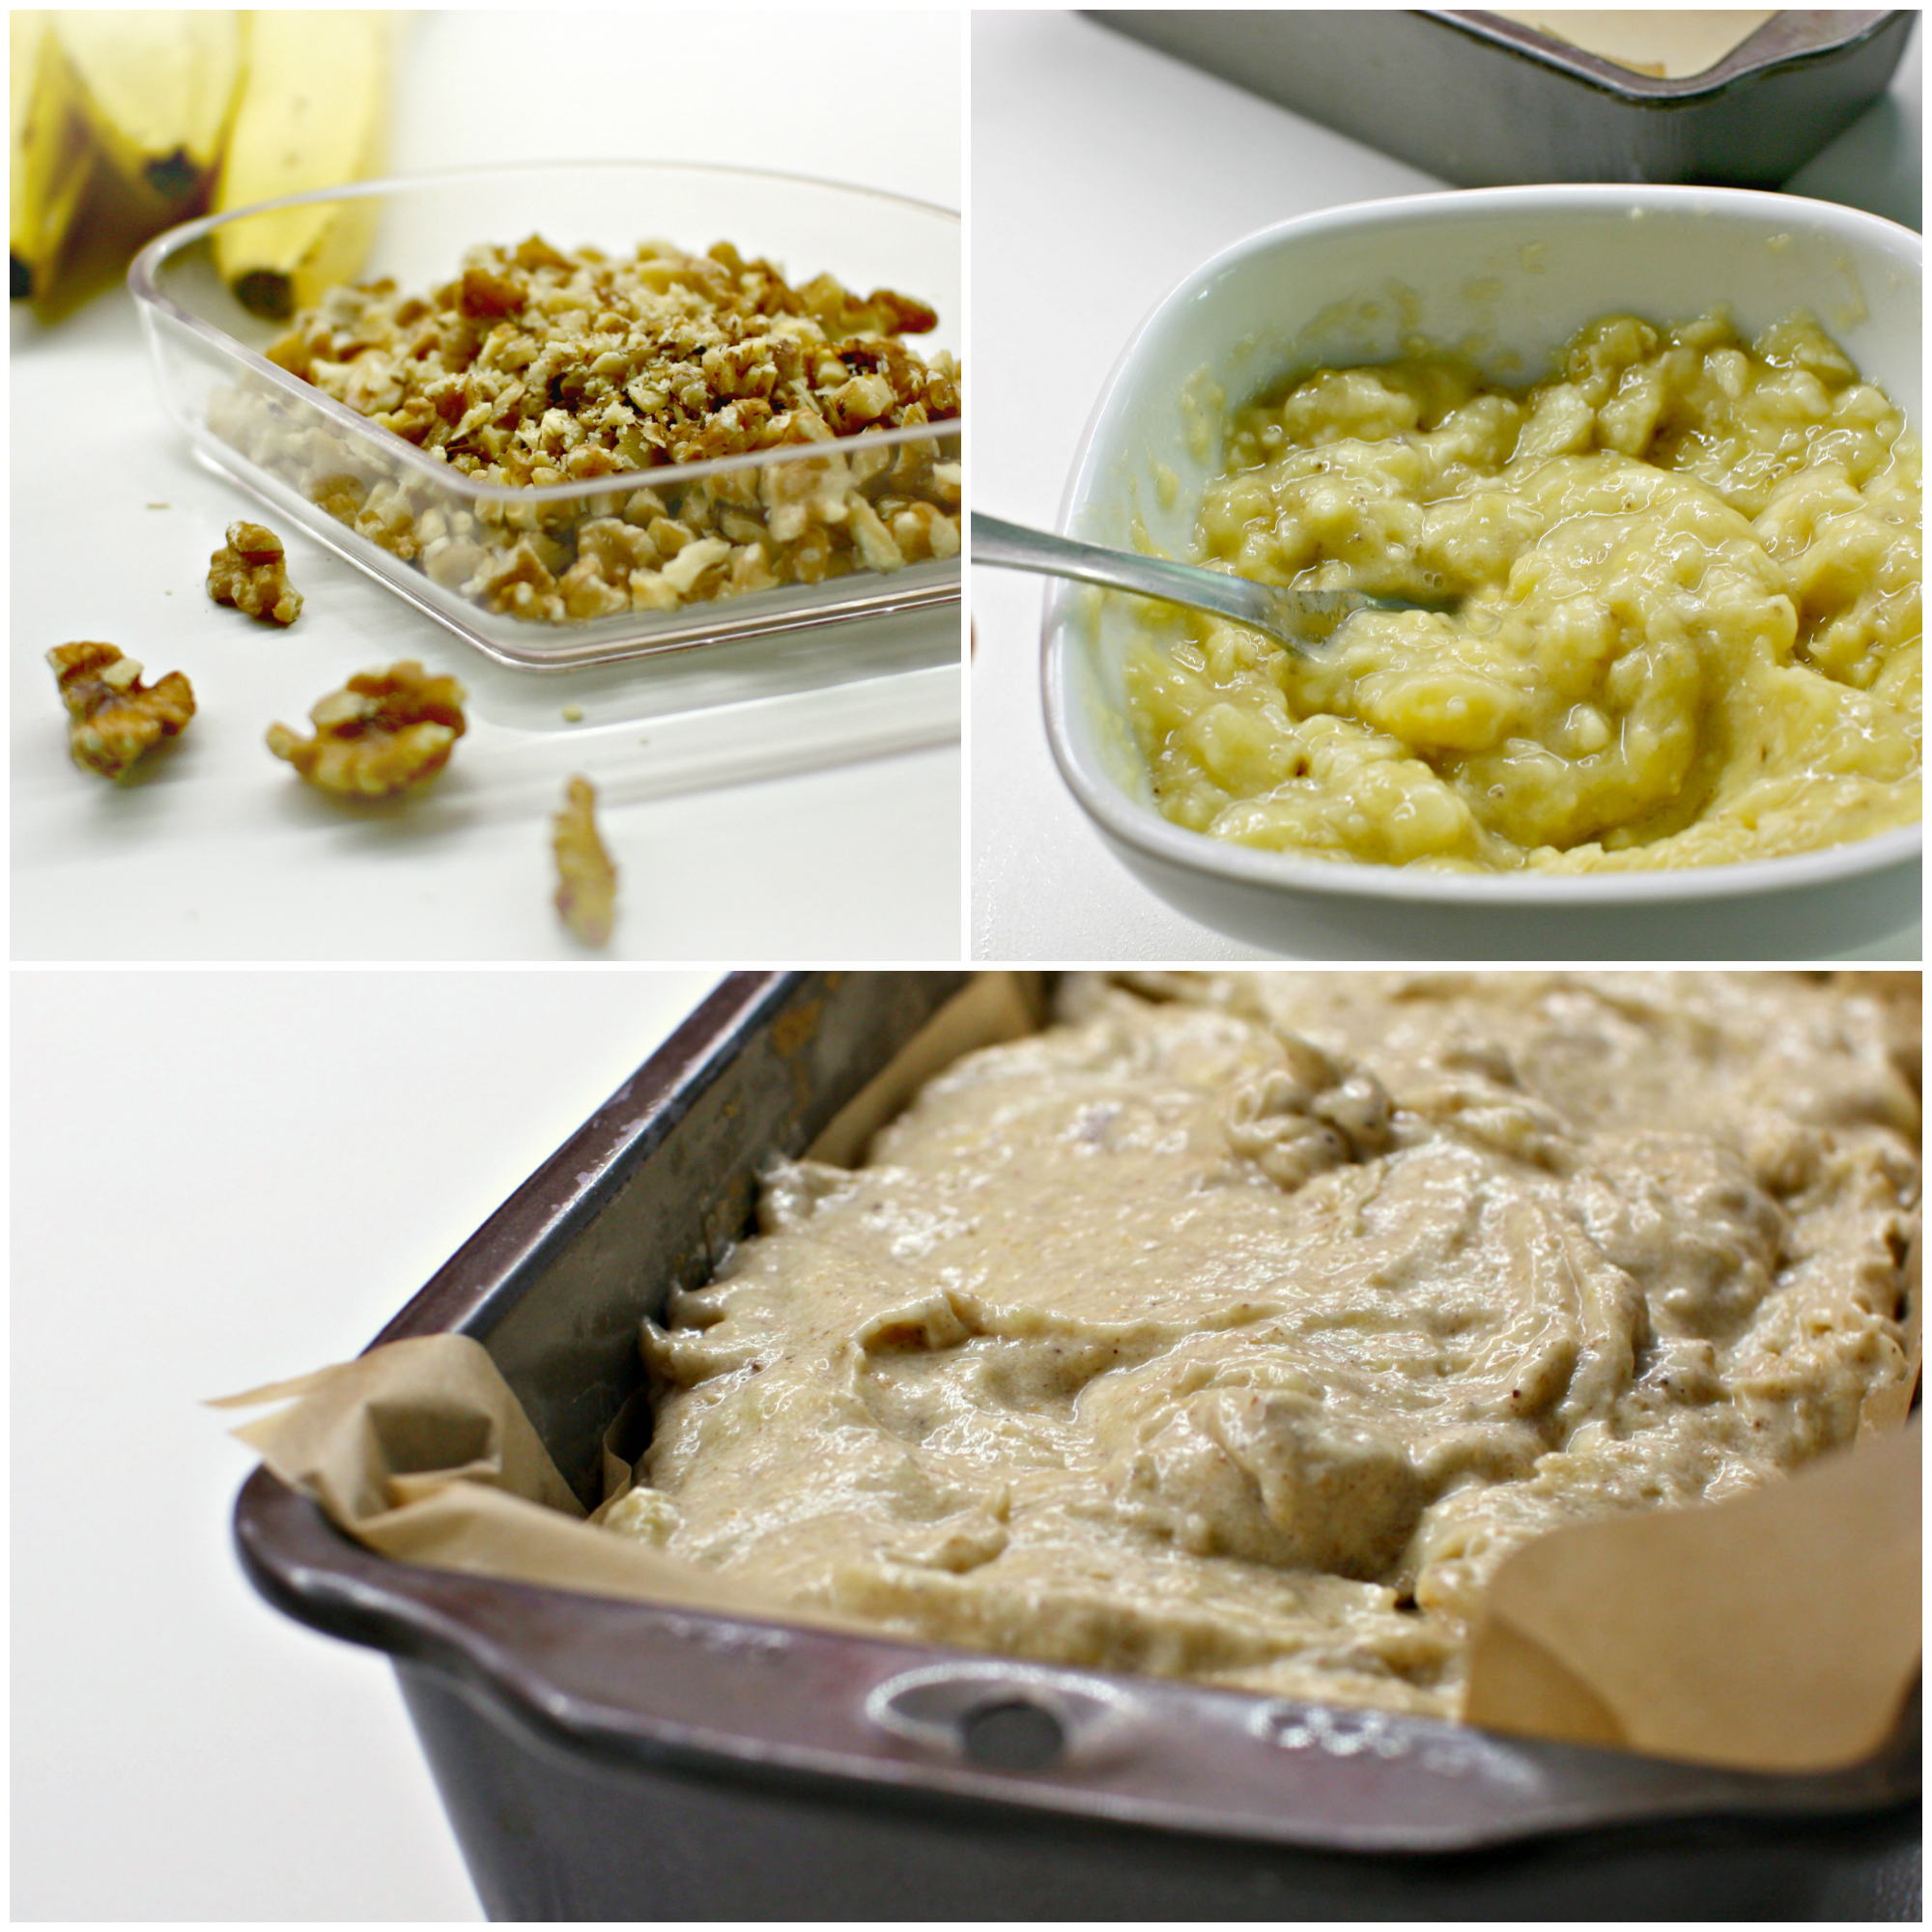
  • with a fork, mash the bananas to a purée and stir into the mixture
  • add the vanilla and nuts
  • pour the mixture into a loaf tin, lined with greaseproof paper and bake in 180° C for 50-60 minutes

Mmmmm – I wish I had a ‘scratch and smell’ facility in this blog!

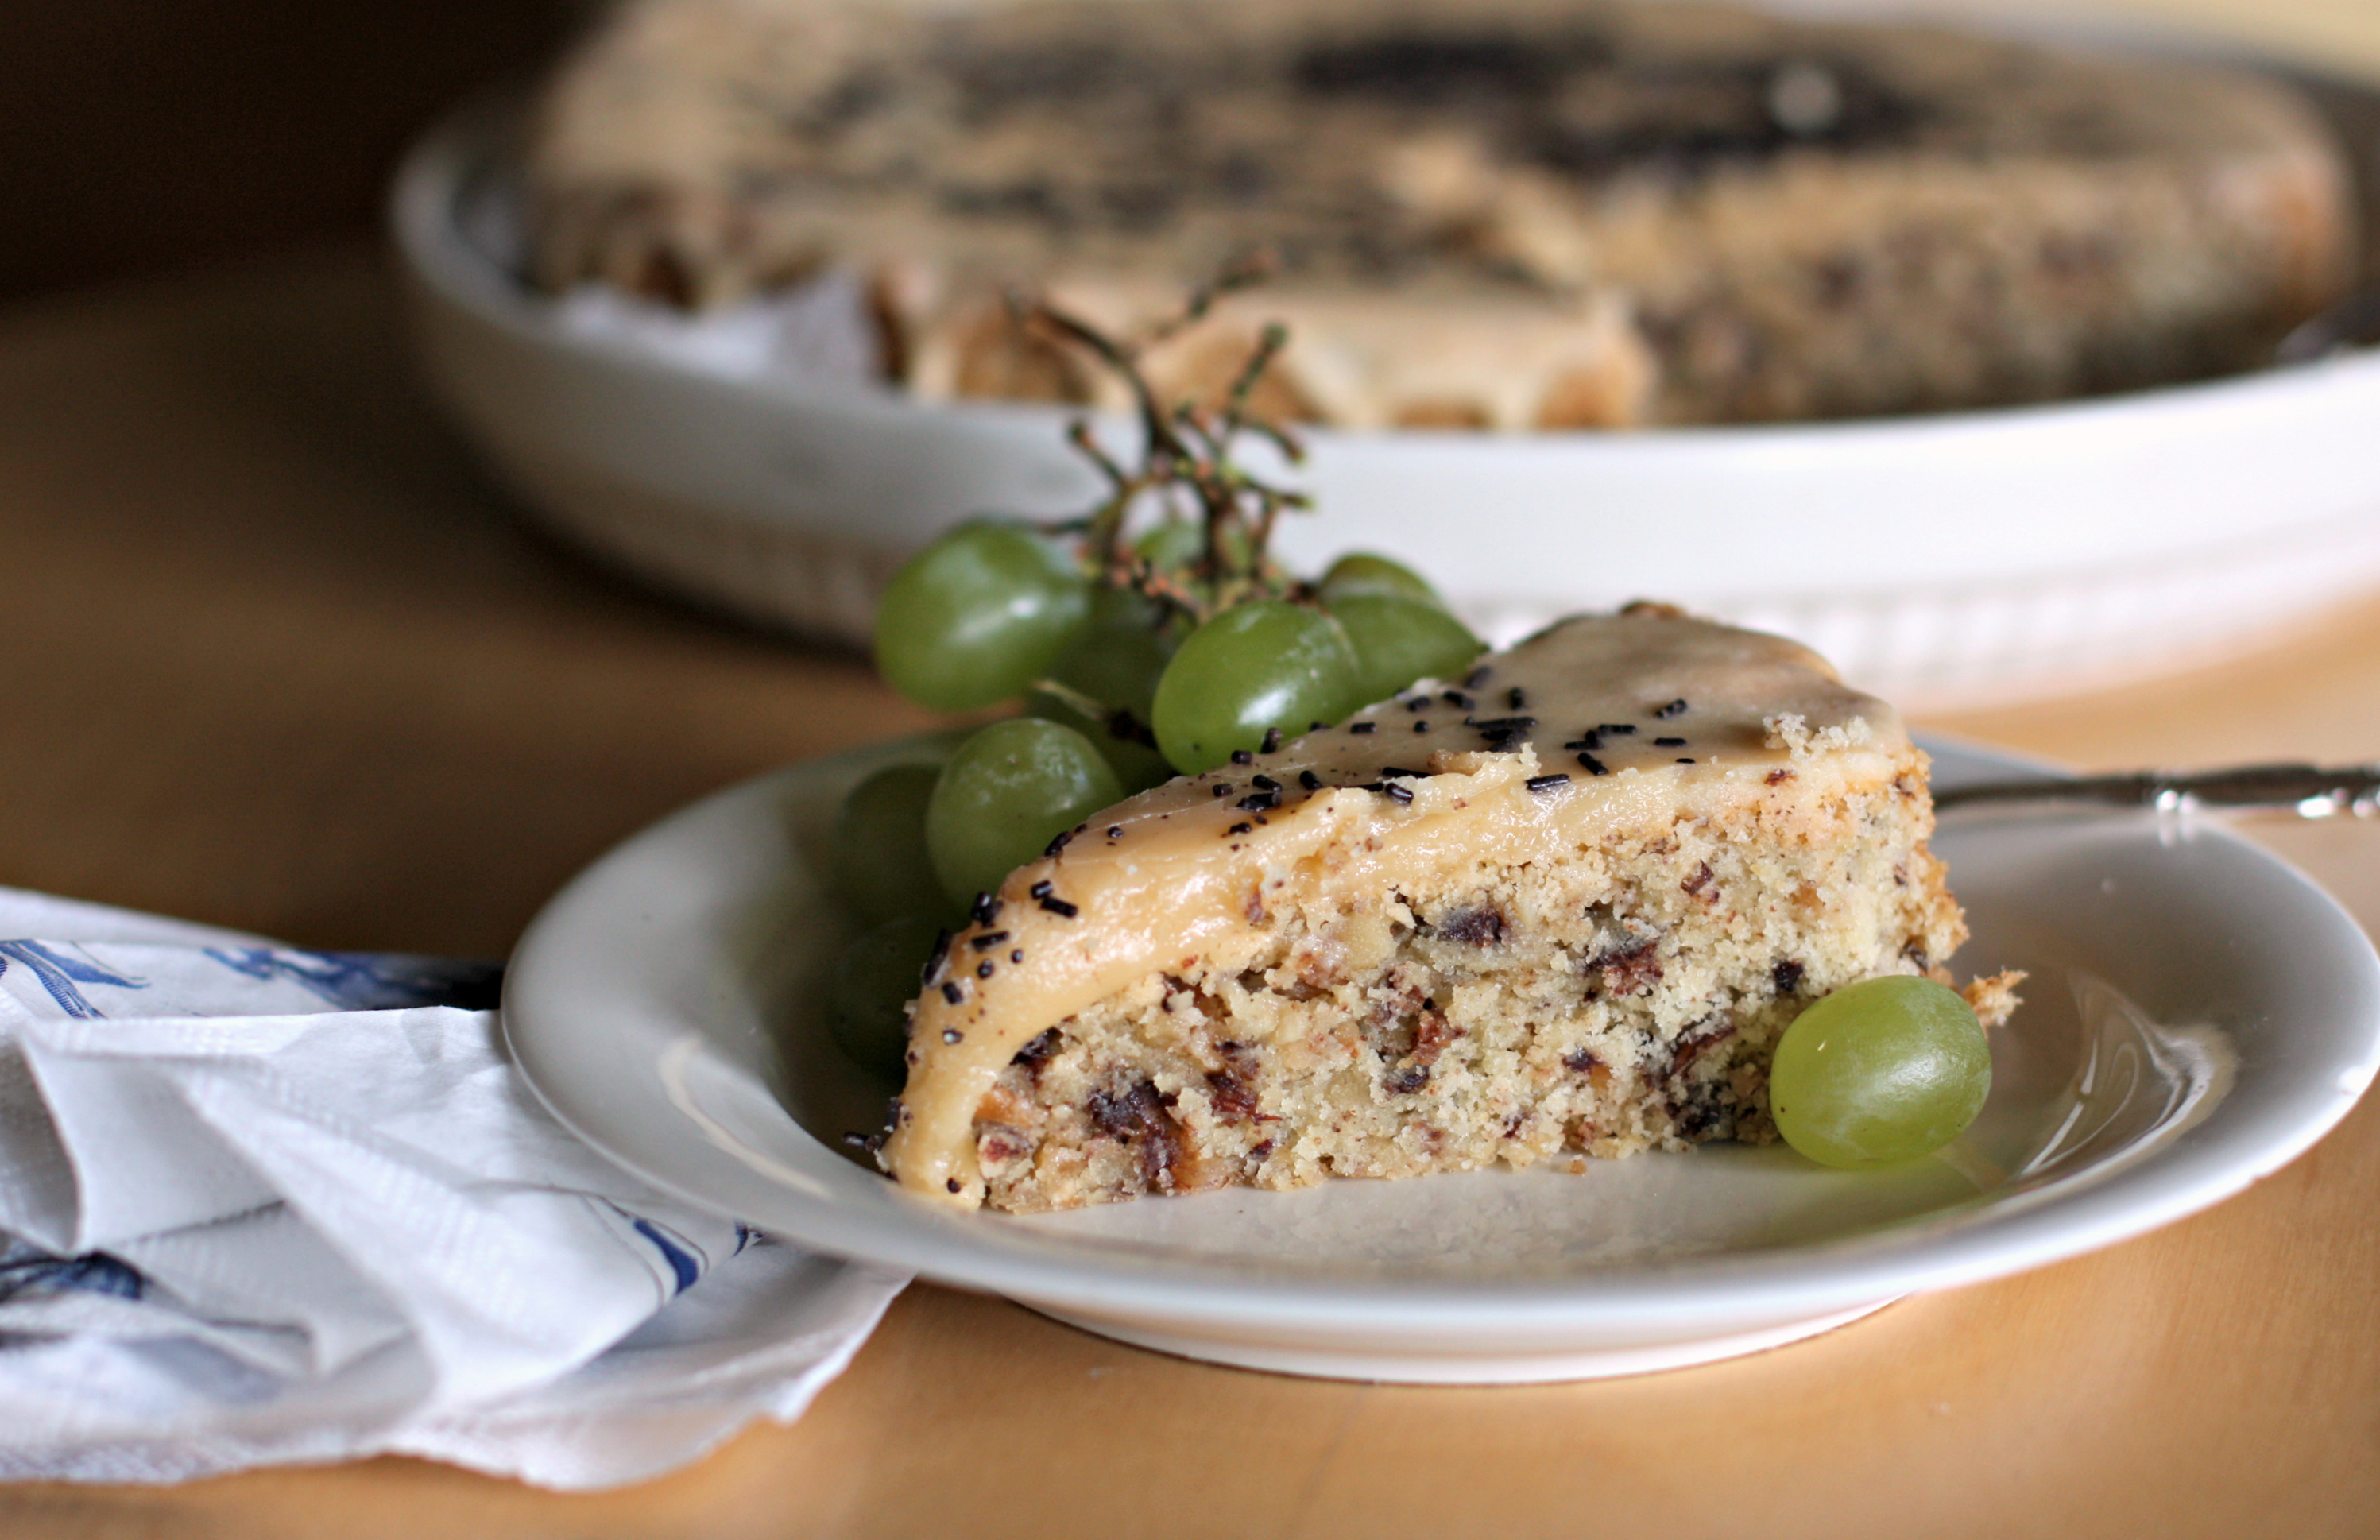
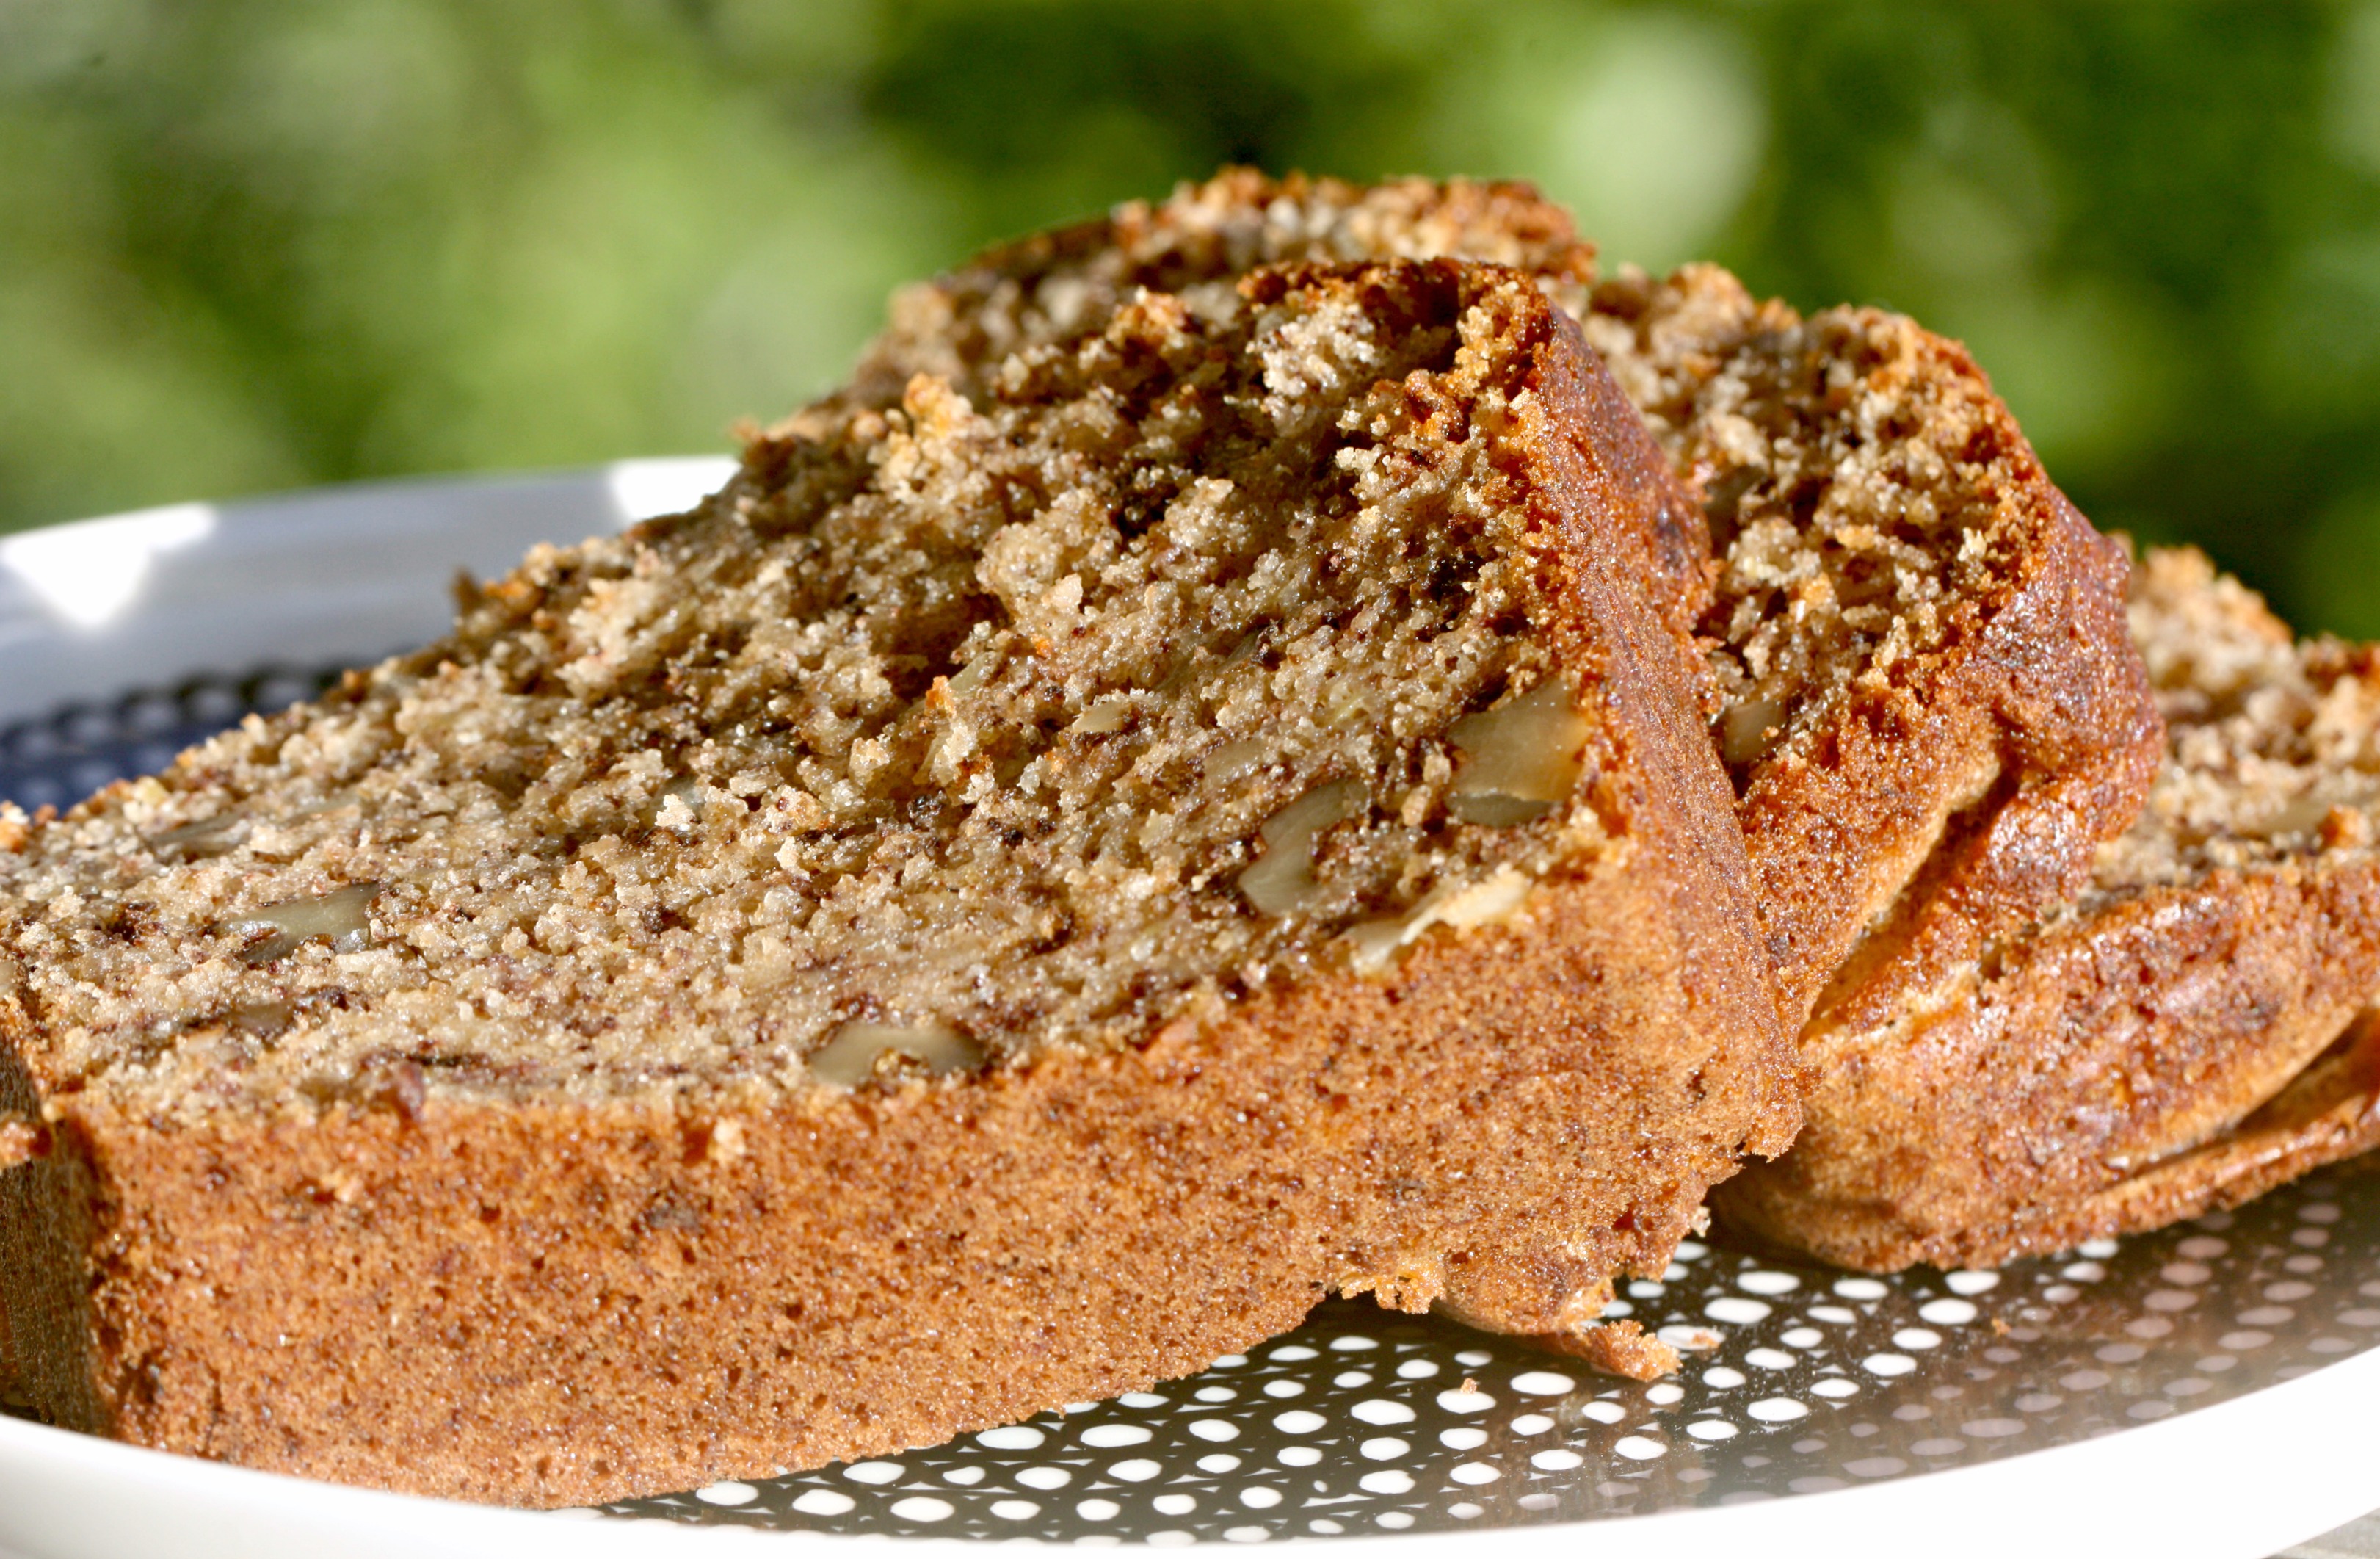
Cut nice and thick slices, and enjoy – on its own, with tea or coffee or any way you like! Delicious warm straight out of the oven but just as nice as a cold snack on the road.

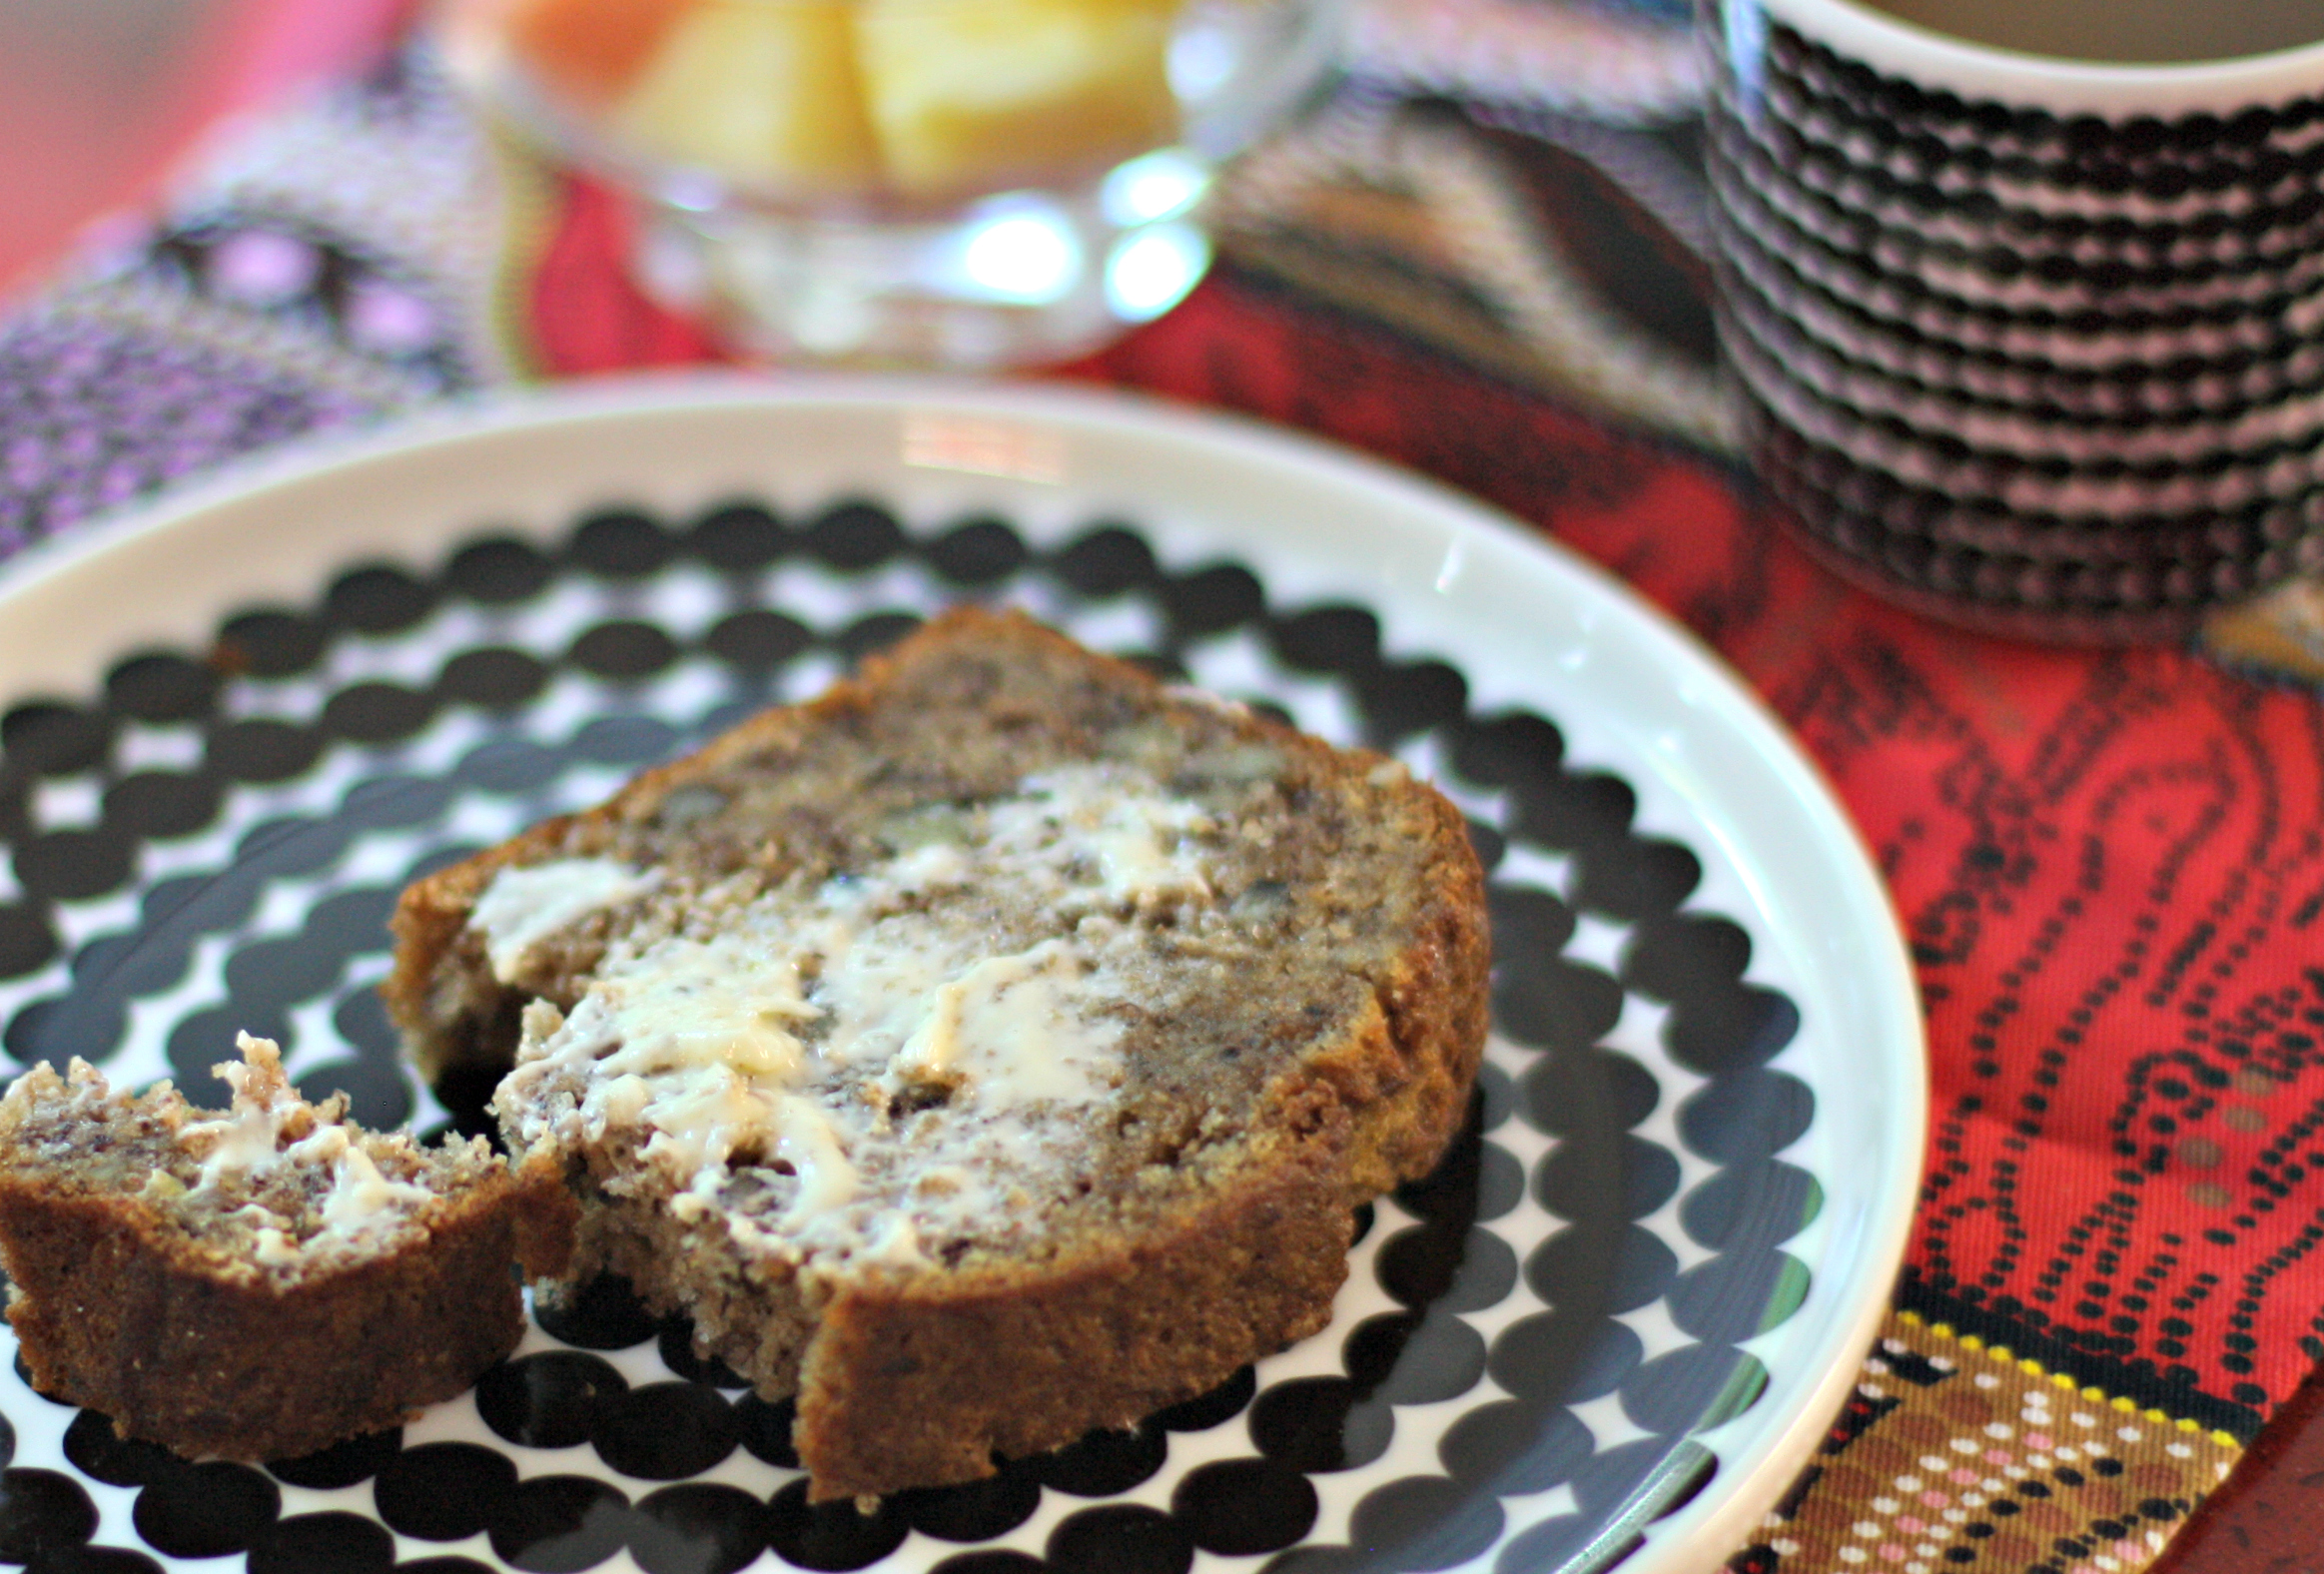
I was reminded of this old favourite during my recent two-week adventure in Australia, as I found banana bread in the breakfast menu of almost every café I visited there. They usually served it toasted, with some butter on top. That was new to me, as we always used to devour our slices plain. So thank you Australia for giving me a new breakfast idea!

Good morning Aussie style, even with the fresh melons and pineapple plus the souvenir aboriginal-themed tea towel! (The dishes are very Finnish, though.)

Advertisement


2 Comments

Butterscotch cake – men’s favourite

The way to a man’s heart is through his stomach.

Or so they say. I can’t exactly say that the way to my man’s stomach was this cake, but I do remember that quite a few of his male friends used to praise this cake whenever they had a piece at my place, telling my then boyfriend (now husband) that I was a keeper.

I cut the recipe from a women’s magazine decades ago because it sounded good. Since then it has been “my signature cake”. Whenever there is a special occasion, I usually bake one. Especially if it’s to do with hubby’s special celebrations. The combination of hazelnuts and dark chocolate in the cake mixture is simply heavenly with the soft butterscotch topping. It’s actually so yummy and morish that hubby often hides some, to have more for himself before others eat it all up.

Hubby celebrated a special birthday just last weekend

Hubby celebrated a special birthday just last weekend

INGREDIENTS

  • 3 eggs
  • 2 1/2 dl sugar
  • 150 g butter
  • 3 dl ordinary wheat flour (not self-raising)
  • 1 tsp baking powder
  • 75 g hazelnuts
  • 75 g dark chocolate

IMG_8435

THIS IS WHAT YOU DO

  • Beat the eggs and sugar until fluffy.
  • In a separate bowl beat the butter until light.
  • Combine the two mixtures.
  • Crush the hazelnuts (or buy a packet of ready-made crush) and chop the chocolate into small pieces
  • Mix together the flour, baking powder, nuts and chocolate. Add to the mix.
  • Grease a low, preferably a springform, round cake tin. Pour in the mixture.
  • Bake at low temperature, 150° Celsius, for about 40-50 minutes.

IMG_8455

FOR THE TOPPING

  • 2 dl full whipping cream
  • 2 dl sugar
  • 1 tbsp butter
  • chocolate sprinkles

Now this is the tricky part of this cake. Getting the butterscotch just right takes some practise and experience. I have failed in so many ways over the year. Either I cooked it too little, which results in a too liquid consistency that is immediately soaked in by the cake, and results in no topping at all. Or, trying to avoid the previous scenario, I cooked it too long, and ended getting it thick, grainy and horribly hard. I’ve also managed to produce a sticky, chewy consistence that almost breaks your teeth, just as the worst type of toffee! Anything is possible unless you know exactly what temperature to use on your cooker, and what the correct consistency is. Don’t lose heart, though – you may be a natural with this, or then, at least through trial and error you will get it right.

IMG_0386

Put the cream and the sugar in a saucepan and start cooking at medium heat. On my present induction cooker, I tend to have the temperature at 3.5-4 (out of 9). Keep cooking, stirring it quite often, so it won’t stick to the bottom. Make sure it’s bubbling a little all the time, but not too much! Just small bubbles like in the picture above. For me, the cooking time tends to be a minimum of 30 minutes, sometimes even more. Towards the end, the mixture starts thickening up and darkens in colour. A test that all the recipes advise is to put a drop of the mixture into a glass of cold water. If it dissolves at all into the water, it’s not ready yet. It’s supposed to form a nice, solid drop on the bottom of the glass. I usually always keep testing one drop after another, and never really know if it’s right or not. Nowadays, having baked this cake so many times, I just use my intuition (and still sometimes get it wrong!).

Anyway, once the butterscotch is ready (or you think it is), take the pan off the heat, add the butter, and let it settle for a while. Then pour it on top of the cake that you have removed from the baking tin. Start from the middle and keep moving towards the sides. The butterscotch is supposed to trickle down the sides of the cakes. You can help it with a knife if needed.

IMG_0391

Decorate with some chocolate sprinkles, and voilà, ready to be devoured!

IMG_0401 IMG_0406

To serve the cake, a bunch of green grapes look nice, and go very well with the taste as well. The cake keeps quite well for several days, and stays nice and moist. If kept in the fridge, the butterscotch tends to lose its shine a little.

IMG_0416 IMG_0427

ENJOY ON ITS OWN, OR WITH A CUP OF GOOD COFFEE!

IMG_0419


2 Comments

Finnish bun variation 1: Shrove Tuesday

IMG_8255a

February is still a fully winter month in Finland. Minus temperature, especially at night, and usually quite a bit of snow, too. But, the darkest period is gradually passing, and there are glimpses of hope, with longer and longer daylight hours, and bright sunny days. Shrove Tuesday brings a nice, happy change to the winter drudgery. It is celebrated annually in February, with wintry outdoor activities, such as sledging, skating or skiing.

sledging

What’s more, there are, of course, special foods and treats associated with this day. Lunch or dinner may consist of pea soup with pancake for dessert, for example. However, an absolute must, after doing some sport out in the cold, is to warm yourself up with a hot drink and a special “Shrove Tuesday bun”.

IMG_8671

I can still remember my university days when my best girlfriends and I always used to skip afternoon lectures on this Tuesday, go skating and then to a certain café in town to treat ourselves to coffee and these buns. The café in questions used to be popular among elderly ladies, who would typically come early in the day, to avoid the crowds. Our girly giggles and chatter sometimes got on their nerves so much that we even got asked to leave once if we couldn’t keep the volume down. Oh, those were the days!

IMG_8643

Each bakery has their own Shrove Tuesday buns, all slightly different. But, being biased I guess, I just think that nothing beats the home-baked ones.  They are really easy to bake, too. All you need to add to my basic bun recipe, is almond paste (a bit softer and less sweet than marzipan) and whipped cream.

Bake the buns as usual. Let them cool down well. Then simply cut “the hat” off, make a hole in the middle (just eat the surplus piece of bun!) and fill it with the almond paste. Whip the cream, adding a little bit of sugar and vanilla, and put a good dollop on top of the almond filling. Then put “the hat” back on, and voilà. Heavenly with a cup of coffee, or a mug of steaming hot chocolate! IMG_8660 IMG_8662 IMG_8663

The only problem is how to eat the bun without making a total mess of whipped cream all over your face and clothes. Easy, just take “the hat” off and eat it first!

IMG_8667

Some people insist on replacing the almond paste with strawberry or raspberry jam. Bakeries, cafés and supermarkets usually sell both varieties. Personally, I prefer the almond paste, but each to their own. For comparison, underneath is a picture of  the more uniform, shop-bought jam-filled buns.

4314811702_175c0f56eb_o


Leave a comment

Crunchy goodness from seeds

seedcollageWe are finding it very hard to find any decent bread without wheat in any of the shops. At our age, we’ve found it better to avoid it whenever possible. Of course, there is the healthy Finnish rye bread but sometimes you just get tired of it. This is why, I am always on the lookout for good recipes for bread, or something equivalent, with no standard white flour.

This crisp “bread”, made solely of seeds and so totally gluten-free , is really nice, and the easiest recipe to make. Here in Scandinavia, we just love the variety of crispy bread. Seeds are full of all the good things, such as good fats, loads of fibre, minerals and proteins. This “bread” goes well with different cheeses, but is also very moorish just to munch on its own. A healthy alternative to crisps, while watching films, for example. Definitely worth trying, and your tummy will thank you for it!

seedycollage

INGREDIENTS

  • 1 dl sunflower seeds
  • 1 dl sesame seeds
  • 1/2 dl flax seeds
  • 1/2 pumpkin seeds
  • 1/2 chia seeds
  • 2 dl boiling water
  • 1/2 dl olive (or other) oil
  • sprinkle of sea salt

IMG_8988

THIS IS WHAT YOU DO

  • mix the 5 types of seeds in a bowl
  • add the hot water and oil and mix
  • let it stand for 10 minutes
  • press the mixture into a very thin layer on a baking tray, between two greaseproof baking sheets (it will easily be the size of the whole baking tray)
  • sprinkle some sea salt on top
  • bake in 175 degrees Celsius for about 50 minutes

seedcollage3

Once baked, cut it into small pieces – but be aware, it’s really crumbly. I never manage to produce even pieces but who cares, it’s the taste that counts, right? It’s a nice combination of slight saltiness, and roasted flavours, with a pleasant, crunchy consistency. The only downside is that it can get quite addictive! For us at least, one portion never lasts very long. But for once, you don’t have to feel guilty of treating yourself.

IMG_9009

ENJOY!

IMG_9005


Leave a comment

Runeberg’s cakes

P1110175

February. Still winter but finally, days are getting noticeably longer, and brighter on sunny days like today. The bare birch trees, with their white trunks against the winter blue sky, made me feel very Finnish today – blue and white being the colours of our national flag. A good day to feel slightly patriotic, too, as February 5th is celebrated as Runeberg’s day, commemorating the birthday of our national poet, Johan Ludwig Runeberg. Today, it’s 212 years since his birth in 1804.

We Finns are keen on signature pastries and baked goodies for special occasions. And so there is the “Runeberg cake” to enjoy today. Legend has it that it was Runeberg’s wife, a talented baker, who invented this cake for her husband.

IMG_8611

Bakeries and supermarkets start selling these small cupcake-like delicacies the moment the Christmas season is over. There is such a variety to choose from that you really have to know what you prefer. The main differences are the size, and whether they are “dry”, or moistened with some punch, or liqueur. Personally, I am for the dry version but hubby wants his drizzled with a spoonful of Swedish punch. Most years I bake my own, using a recipe passed down by my mum, another talented baker. Mine look more like cupcakes, compared to the more “tower like” commercially baked versions.

INGREDIENTS (for about 8 big ones, or 16 smaller ones)

  • 200 g butter
  • 2 dl sugar
  • 2 eggs
  • 2 dl crushed almonds
  • 2 dl bread crumbs
  • 1 dl wheat flour
  • 1 ts baking powder
  • punch (if desired)
  • raspberry marmalade
  • icing

runeberg

THIS IS WHAT YOU DO

  • cream the butter and sugar
  • add the eggs, one at the time
  • mix all the dry ingredients and add them to the mixture
  • spoon the mix into cupcake or muffin pans or moods (paper or other)
  • set the oven at 200 degrees Celcius, and bake for about 15 minutes
  • if you like, drizzle one tablespoonful of punch over the warm cakes
  • decorate with a spoonful of raspberry marmalade, with a ring of icing around it

IMG_8609 8439173092_10162a8deb_o

I’m a great fan of seasonal food and baking. Whatever you eat or drink only once a year never gets boring, and tastes extra delicious!

tulips

February is also the time for colourful tulips. So here’s a bunch to wish “Happy Birthday Mr. Runeberg”!


Leave a comment

Finnish shortbread teaspoon bites

Spring, especially May, and early summer are festive periods in Finland. May starts with a big carnival on the 1st of the month, then there is Mothers’ Day on the second Sunday, and May ends with the biggest national school celebration, upper secondary (or senior high) school graduation. This is also a popular time for weddings, with nature awakening and the famous white nights. In short, there is lots to celebrate.

IMG_4867

And celebrations and parties usually include traditional, festive recipes. Here is one of them. If you were a little nonplussed by the title, that is the name I and hubby coined today to give you an idea of what to expect. Online, I have seen people call these ‘Finnish spoon biscuits’ or ‘Finnish teaspoon cookies’, which I chose to reject for the simple reason that, to me, these are not biscuits nor cookies. The pastry definitely has the taste and consistency of British shortbread but the rest is very Finnish. To begin with, the bites are sandwiched, with some jam or marmalade in between.

But let me explain about the spoon. Many Finnish families have their own heirloom silver teaspoon for this particular purpose. It is exactly the right size, shape and depth – all essential requirements of the right spoon. It should be a small oval-shaped teaspoon, slightly pointed at one end, and not too shallow. Those who haven’t got one passed down the generations, might go to a flea market to look for one. I always go to my sister-in-law to borrow her ideal family teaspoon. The prettier the spoon, the lovelier, I would say, although, naturally, it won’t make any difference to the taste in the end! To make the bites, the pastry is pressed into the spoon to get the right shape – hence the name. In Finnish it is ‘lusikkaleipä’, which literally translates as ‘spoon bread’. A bit misleading, I know. You see, in Finnish ‘a biscuit’ is called ‘pikkuleipä’, which means ‘small bread’. Aren’t languages just great!

My sister-in-law's family spoon is simply perfect

My sister-in-law’s family spoon is simply perfect

These bites are usually baked for extra special occasions, at least in my family. They are proudly and lovingly prepared, usually by an older lady in the family. My mother baked them for my wedding, I baked them for my daughter’s school graduation party, and my sister-in-law told me that she had just baked them for her daughter’s engagement party. The rare occasions you get to taste them make them a luxurious treat that is truly appreciated. I also think the bites look very cute, like tiny sugar-coated eggs, and add a nice touch to any coffee table spread.

IMG_4856

INGREDIENTS (for c. 35 sandwiched bites)

  • 200 g butter (unsalted if you like, but works with ordinary, too)
  • 2 dl (200 ml) caster sugar
  • 4 dl (400 ml) all-purpose wheat flour
  • 1 tsp baking powder or bicarbonate of soda
  • 2 tsp vanilla sugar

FOR THE FILLING

  • jam or marmalade (firm enough, not too runny) – the most traditional ones used are apple (my favourite) or raspberry, but feel free to experiment with any you desire
  • + fine sugar for coating

Collage2

THIS IS WHAT YOU DO

  • melt the butter in a thick-bottom saucepan till it starts bubbling
  • let it bubbly on medium heat till it gets nice nutty brown (make sure you don’t burn it!)
  • pour into a bowl
  • add the sugar and let the mixture cool down
  • in another bowl mix the flour, baking powder and vanilla
  • add the dry ingredients to the cooled down butter mixture
  • press some pastry into the teaspoon to form the halves of the bites
  • put the halves onto a baking tray, which has been lined with grease-proof paper (make sure you make an even number of the halves!)
  • bake in 175° Celsius for c. 12 minutes (till just lightly brown)
  • let the halves cool down
  • spread a thin layer of jam/marmalade on one half, and press another one on top (do this very gently as the pastry is quite crumbly)
  • roll each bite in fine sugar to coat them

jul13 037

Very simple ingredients, simple procedures. Only the “spooning” is quite fiddly and time-consuming but I find it quite relaxing, tantamount to meditative. I never worry too much about making each bite exactly evenly shaped. Any rough edges, odd shapes or unevenly spread marmalade are just signs of home-baking, hand-made unique pieces. Much better and more precious than uniform factory or bakery products, in my opinion.

IMG_4871

With all that butter and sugar, obviously the bites are quite rich in calories. On the other hand, they are rather small, so I don’t think indulging in one will ruin anybody’s diet. The slightly browned butter adds a lovely, nutty, slightly bitter side taste that is totally irresistible. These Finnish delicacies really are worth trying as they literally melt in your mouth!

IMG_4877

 HAPPY CELEBRATIONS!


Leave a comment

Christmas baking: English-style fruitcake

Here is another family recipe that I found somewhere – don’t remember exactly where, some women’s magazine most likely – that has stuck with our family over the years. On the whole, I must admit I’m not too keen on the British idea of a fruitcake. Sorry to say but I just find them too dry and bitter, for some reason, even with the frosting! For example, I could never imagine a fruitcake for a wedding, no matter how nice the idea of keeping some of it for when your first baby is born. As a steadfast and stubborn Finn, I insisted that at our Finnish-British wedding, we had a Finnish-style cream and cloudberry cake, which would not keep for more than maximum one day!

But back the this Christmas cake recipe. I particularly like this one as it makes a lovely, rich and, most importantly, MOIST cake that just keeps maturing and getting better over the holidays. When I first baked one, 20+ years ago, it became an instant  favourite for my dear hubby. This year, the first time ever that we are spending Christmas just the two of us, I suggested what if we skipped the cake. After all, too many sweet things are not good for us at this age, you know. You should have seen hubby’s face of disappointment! Okey, I don’t mind, let’s bake one anyway.

Every year, the cake comes out slightly different. It depends on the amount and type of fruit, and the spirit I use. After many experiments, I must say dark rum works the best for me. But I’ve tried brandy – fine, or like this year, some rum punch from the Île de la Réunion in the Indian Ocean. Look forward to tasting this year’s edition! Another candle-lit baking session, here we go.

IMG_1223a

INGREDIENTS

  • 240 gr baking margarine (or butter)
  • 240 gr brown sugar
  • 1 1/2 tbs dark syrup
  • 4 eggs
  • 4 dl plain flour
  • 1 tsp baking powder
  • 1 tsp ground cinnamon, cloves and nutmeg
  • 1 tsp vanilla sugar
  • a pinch of salt
  • 2 tbs dark rum (or spirit of your choice)
  • 250 gr mixed dried fruit – cut into small pieces
  • 125 gr raisins
  • 1 tbs candied orange peel
  • 1 dl crushed hazelnuts
  • 3 slices of tinned pineapple – cut into chunks
  • c. 20 red and green candied cherries

cakecollage1

THIS IS WHAT YOU DO

  • Cream the butter and brown sugar.
  • Add the syrup and eggs, one at a time. Add about 1 tbs of flour with each egg to prevent curdling.
  • Mix the flour and baking powder, dry spices, vanilla and salt. Add to the mixture.
  • Add all the fruit, the nuts and the spirit.
  • Spoon half of the mixture into a traditional round cake tin that has been carefully buttered and dusted with breadcrumbs.
  • Even the surface and stick the candied cherries in the middle. Then spoon in the rest of the mixture.
  • Bake in 150 degrees Celsius for 1.5 hours.
  • Leave to cool in the tin for a while before removing it onto a tin foil. Let it cool down properly overnight, before wrapping it in the foil, and placing in the fridge.
  • Let the cake “mature” for preferably at least one week before cutting the first slices.

IMG_1213

I wish I had a “scratch and smell” picture here as the spicy, aromatic, Christmasy smell filling our kitchen was so very inviting and festive. The sort of family memory that will hopefully stay in everybody’s minds for ever!

IMG_1226IMG_1232

 MERRY CHRISTMAS ❤


Leave a comment

Christmas baking: almond crescents

FacebookcollageThere is nothing like waking up to a white scenery through the window. No sign of snow last night but it had quietly come down while we were asleep, totally unaware. The whiteness created just the right ambience for some Christmassy baking. To really get in the mood, I need to put some Christmas music on – old-fashioned cassettes, meticulously compiled by hubby years ago, can you believe it! – light the candles, and warm up some mulled wine. Perfect! IMG_1149 This recipe was given to me 20+ years ago by a Canadian friend, and I have baked them every Christmas ever since. A true family favourite! Unlike many other labour-intensive Christmas recipes, these crescents are simple and easy to bake. And they taste heavenly – buttery, almondy, shortbready-type, sugar-coated goodness that practically melts in your mouth.

INGREDIENTS

  • 250 gr butter
  • 70 ml sugar (extra fine)
  • 500 ml ordinary plain flour
  • 1 tbsp water
  • 250 ml ground almonds (almond “flour” can be bought in small packets, 75 g makes c. 200 ml)
  • 2 tsp vanilla (or substitue vanilla sugar)

THIS IS WHAT YOU DO

  • Cream butter, sugar and vanilla.
  • Add water.
  • Add flour, mixing well.
  • Add almonds (I do this last part by hand, to get the right consistency, adding flour or drops of water as needed).
  • With your fingers, form small crescents.
  • Place them on a baking tray, covered with a baking sheet.
  • Bake in 180 degrees Celsius, for about 13-15 minutes.
  • When still warm, roll in the extra fine sugar.

crescentcollageIMG_1109 The crescents won’t expand in the oven, so they can be placed close together on the baking tray. I am not too particular about their shape or size, as mine don’t need to be perfectly uniform. I simply roughly estimate the size, crescent by crescent. Sure sign of home baked goodies, isn’t it?

Et voilà, enjoy! (Great for gifts, too.)

IMG_1121IMG_1144IMG_1122