Sinikka's snippets

Finland and travelling, a woman's life, cultures, languages, photography plus family recipes


3 Comments

Mum’s buns

IMG_8658“Kahvi ja pulla” (coffee and a bun), there is hardly anything more quintessentially Finnish! For us, it’s the equivalent to my British hubby’s “a cup of tea and a biscuit”, or across the Atlantic “as American as apple pie”. In Finland, the coffee is always brewing, whatever the occasion. In fact, Finns are known to be one of the top coffee drinking nations in the whole world. As for the bun, they come in many shapes and varieties, and the art of baking ‘pulla’ is traditionally passed on from mother to daughter.

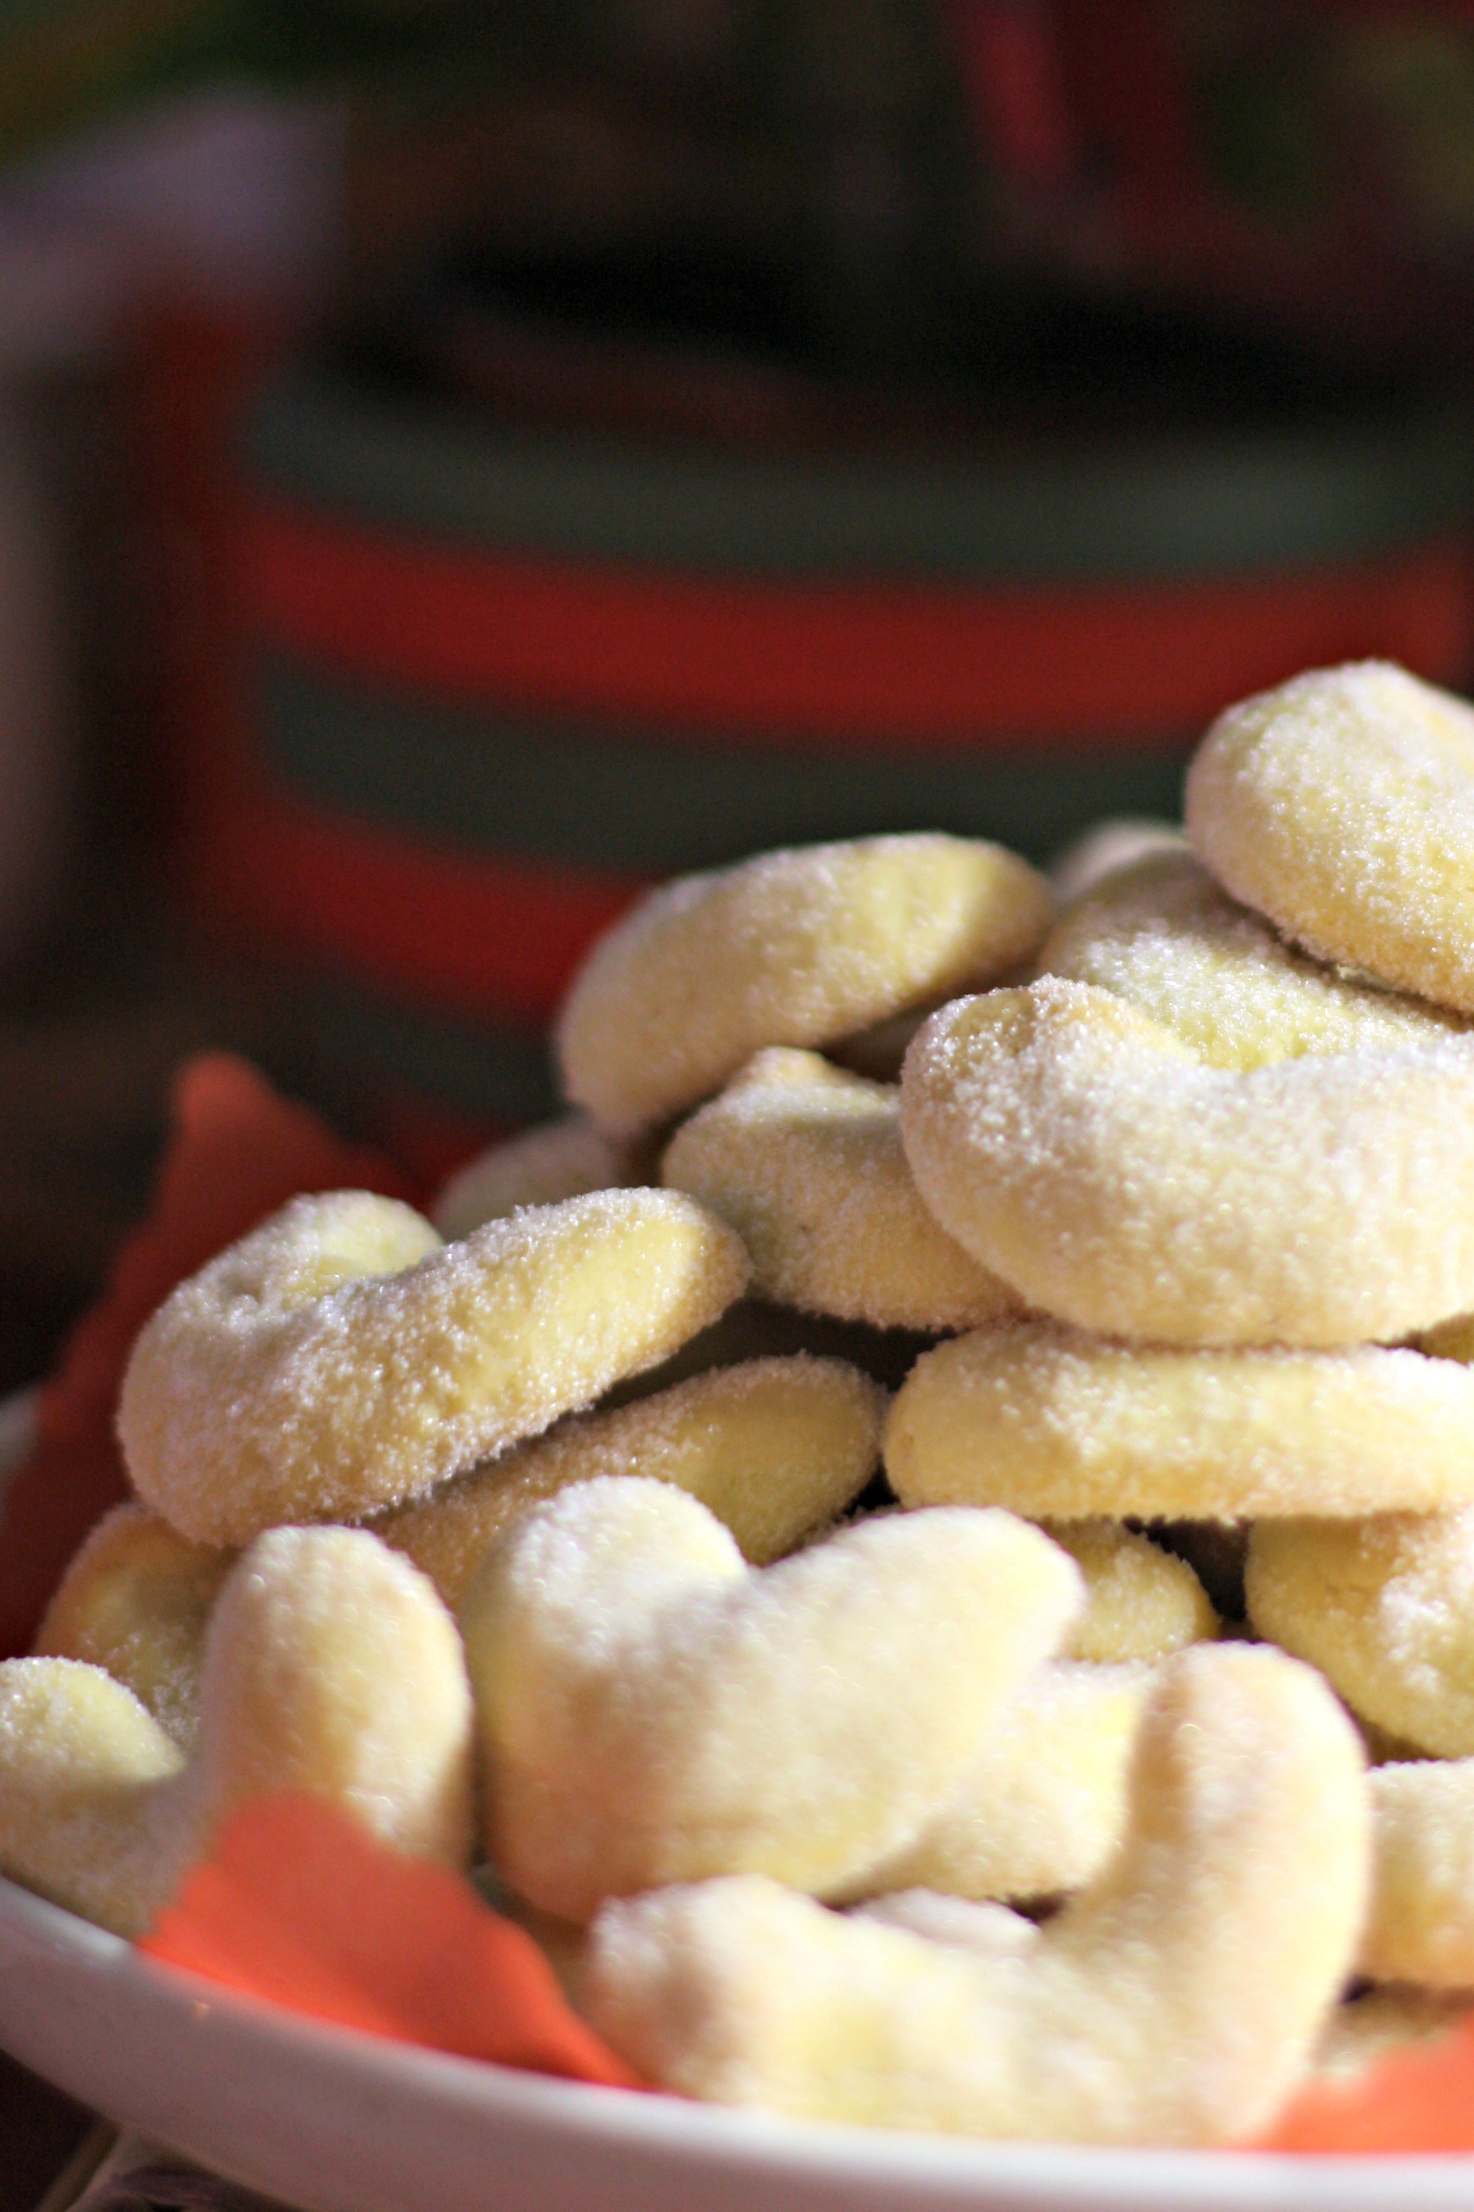
My sweetest memories from childhood are coming home from school when grandmother was visiting, and she would have baked ‘pulla’ during the day, and the deliciously tempting smell filled the staircase the moment you entered through the front door. As kids, we used to enjoy our ‘pulla’ with a glass of cold milk or a mug of hot chocolate, though. Saturdays were my mum’s ‘pulla’ baking days – almost weekly. She really was the ‘pulla’ master! In my family, the most important ingredient was cardamom, which my mum invariably added to the dough. Some people leave it out but for me a ‘pulla’ without it is simply bland and not the real thing. Luckily I got to learn my mum’s recipe phase by phase with her, carefully writing everything down. And now it’s my turn to teach this tradition to my daughter. All through my life, the smell of freshly baked buns has equalled ‘home sweet home’, and it still does.

IMG_8621

INGREDIENTS (to make c. 20-25 basic buns)

  • 2 eggs
  • 2 dl ordinary granulated sugar
  • 3 tsp ground cardamom
  • 1 tsp salt
  • 5 dl milk
  • 50 g fresh yeast
  • c. 17-20 dl ordinary wheat flower (not self-raising!)
  • 200 g melted butter
  • 1 egg for glazing
  • coarse decorating sugar

pullacollage1

THIS IS WHAT YOU DO

  • mix the eggs, sugar, cardamom and salt with a whisk
  • warm the milk till it’s hand temperature (I always test it with my finger as it shouldn’t be too hot!)
  • add the milk into the egg mixture
  • mix in the fresh yeast, and make sure it totally dissolves into the warm liquid (in Finland, you can buy small blocks of fresh yeast, which my mum always used, but dried yeast works as well)
  • start adding the flour, little by little, beating it with the whisk first, to get air into the dough
  • when the dough gets too thick for the whisk, continued kneading by hand, and adding enough flour to get a nice consistency (you will learn the right consistency with time, and trial and error!)
  • towards the end of the kneading, add the melted and cooled down butter, and continue kneading till the dough is elastic enough not to stick to your fingers or the sides of the bowl anymore
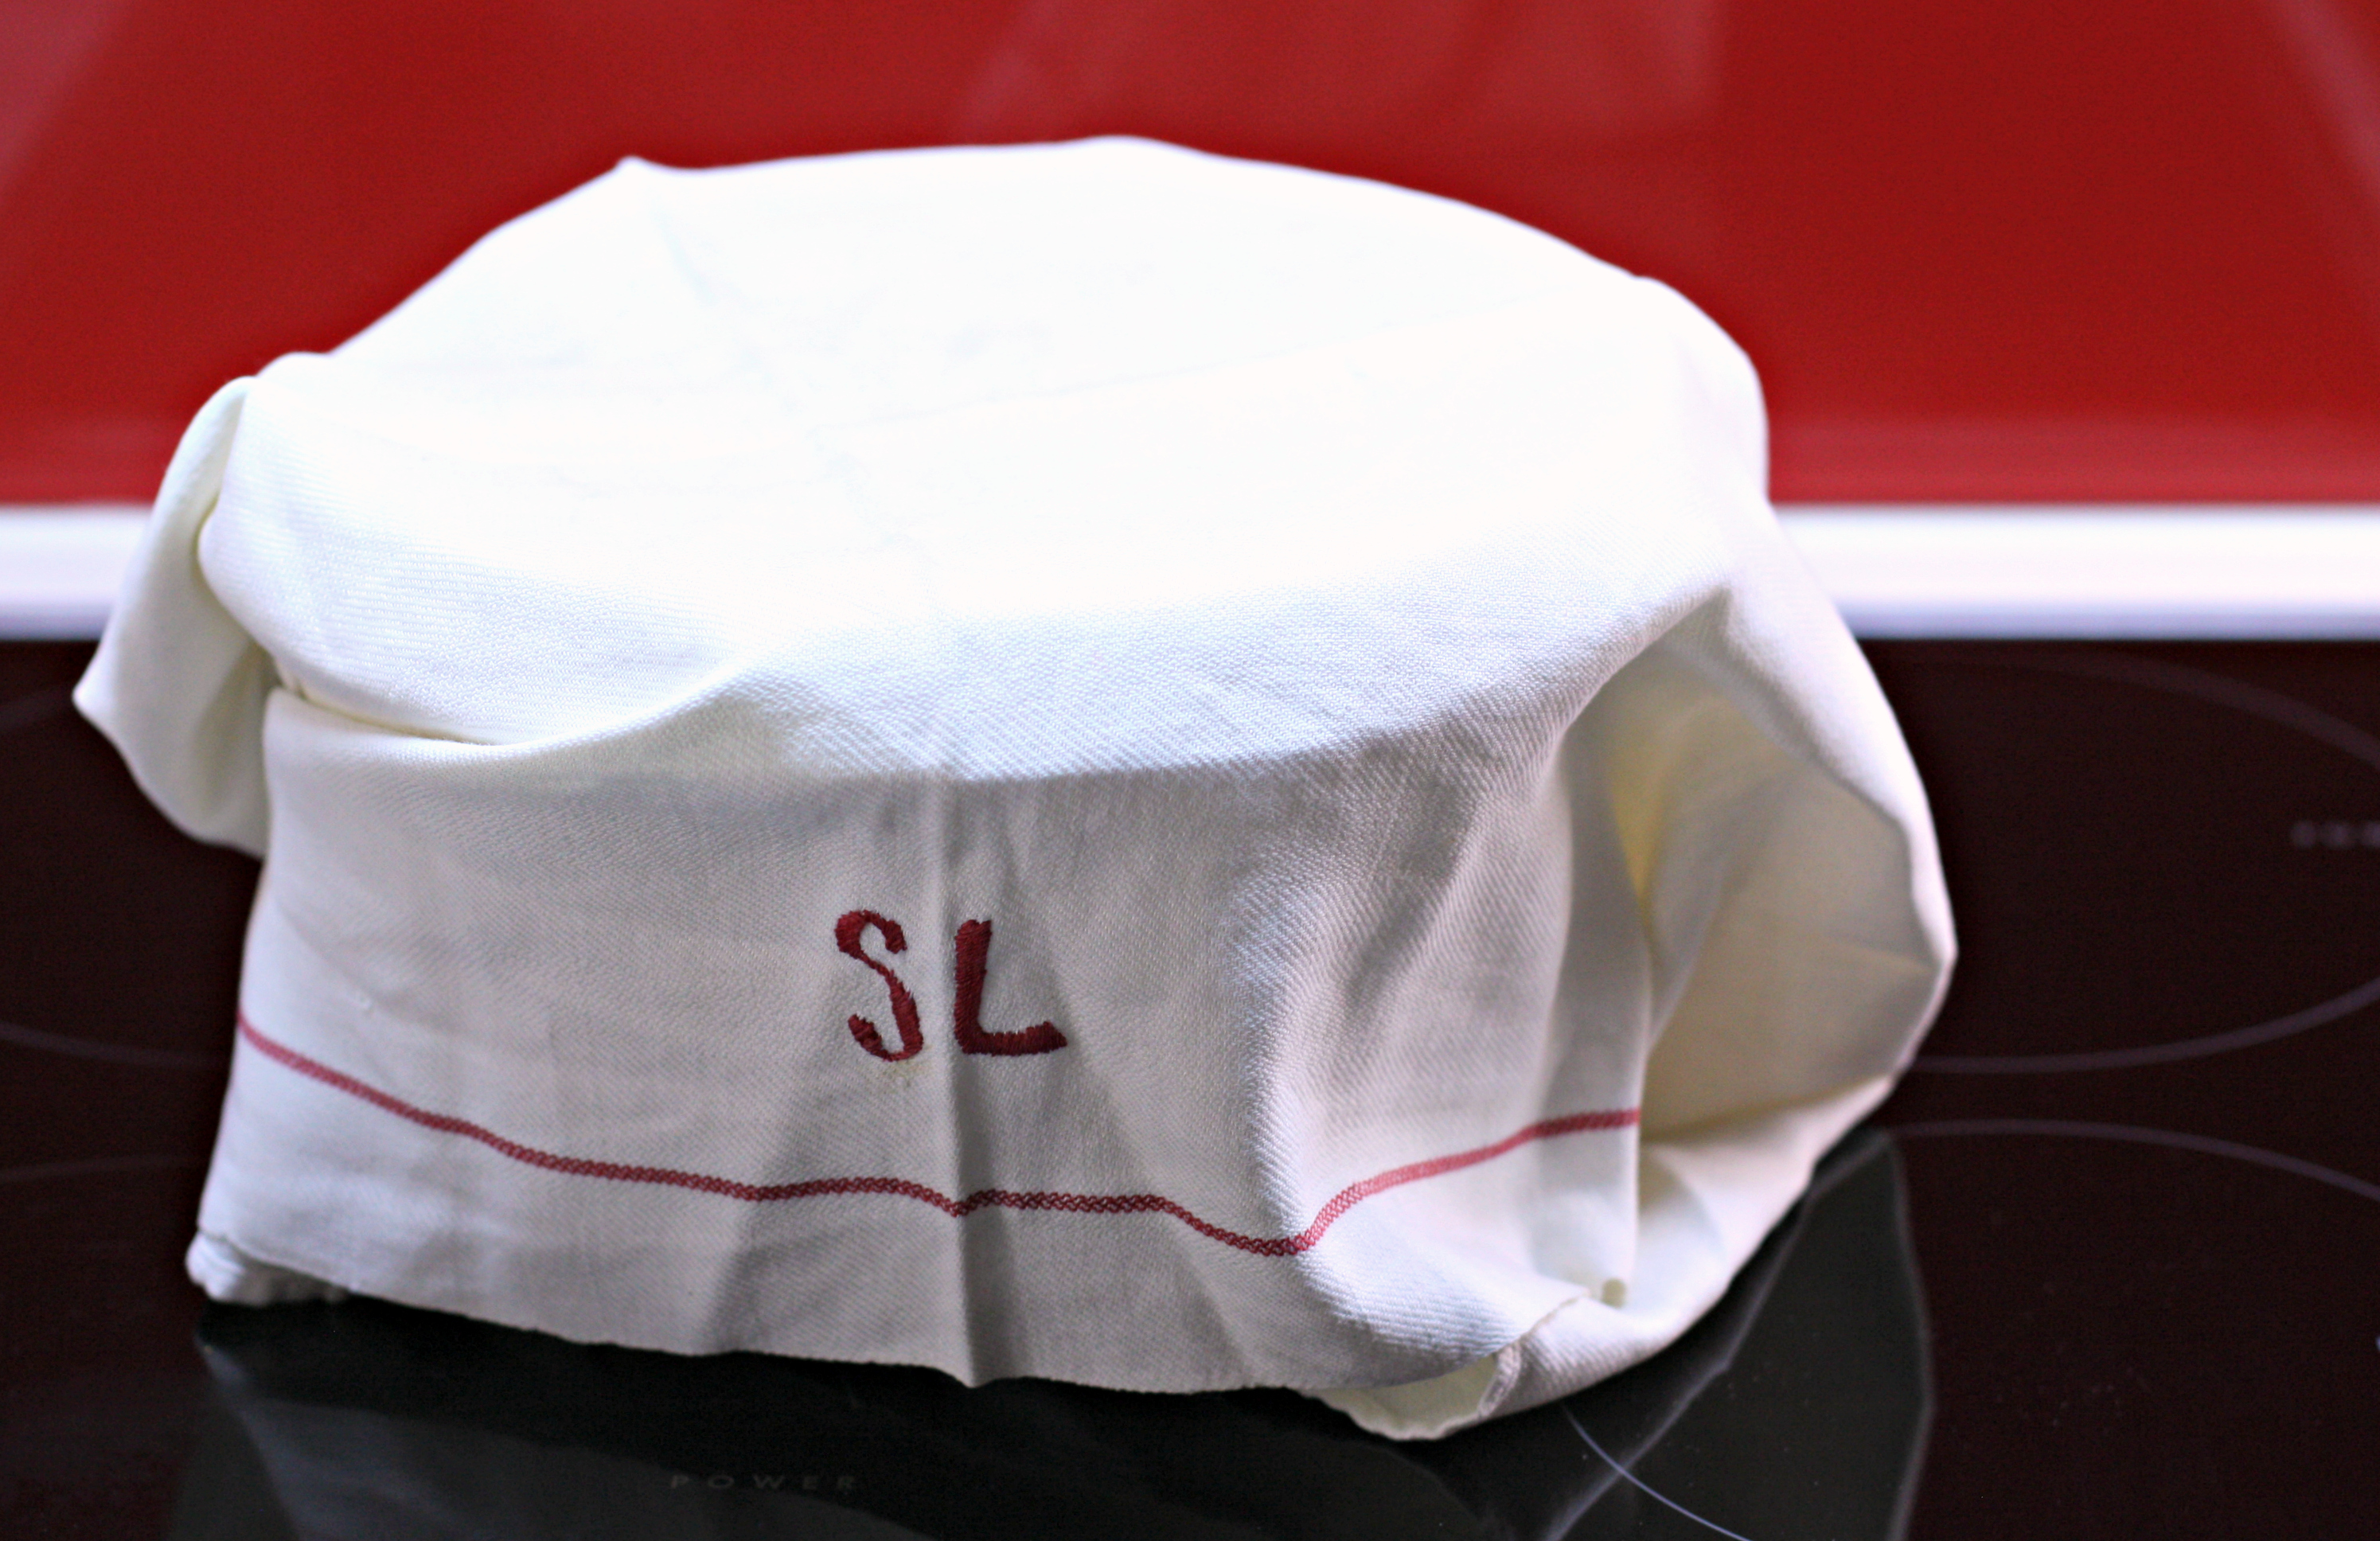
  • cover the bowl with a baking cloth, and let it rise in a warm place for at least 30 minutes, till it has doubled in size

IMG_8639pullacollage3

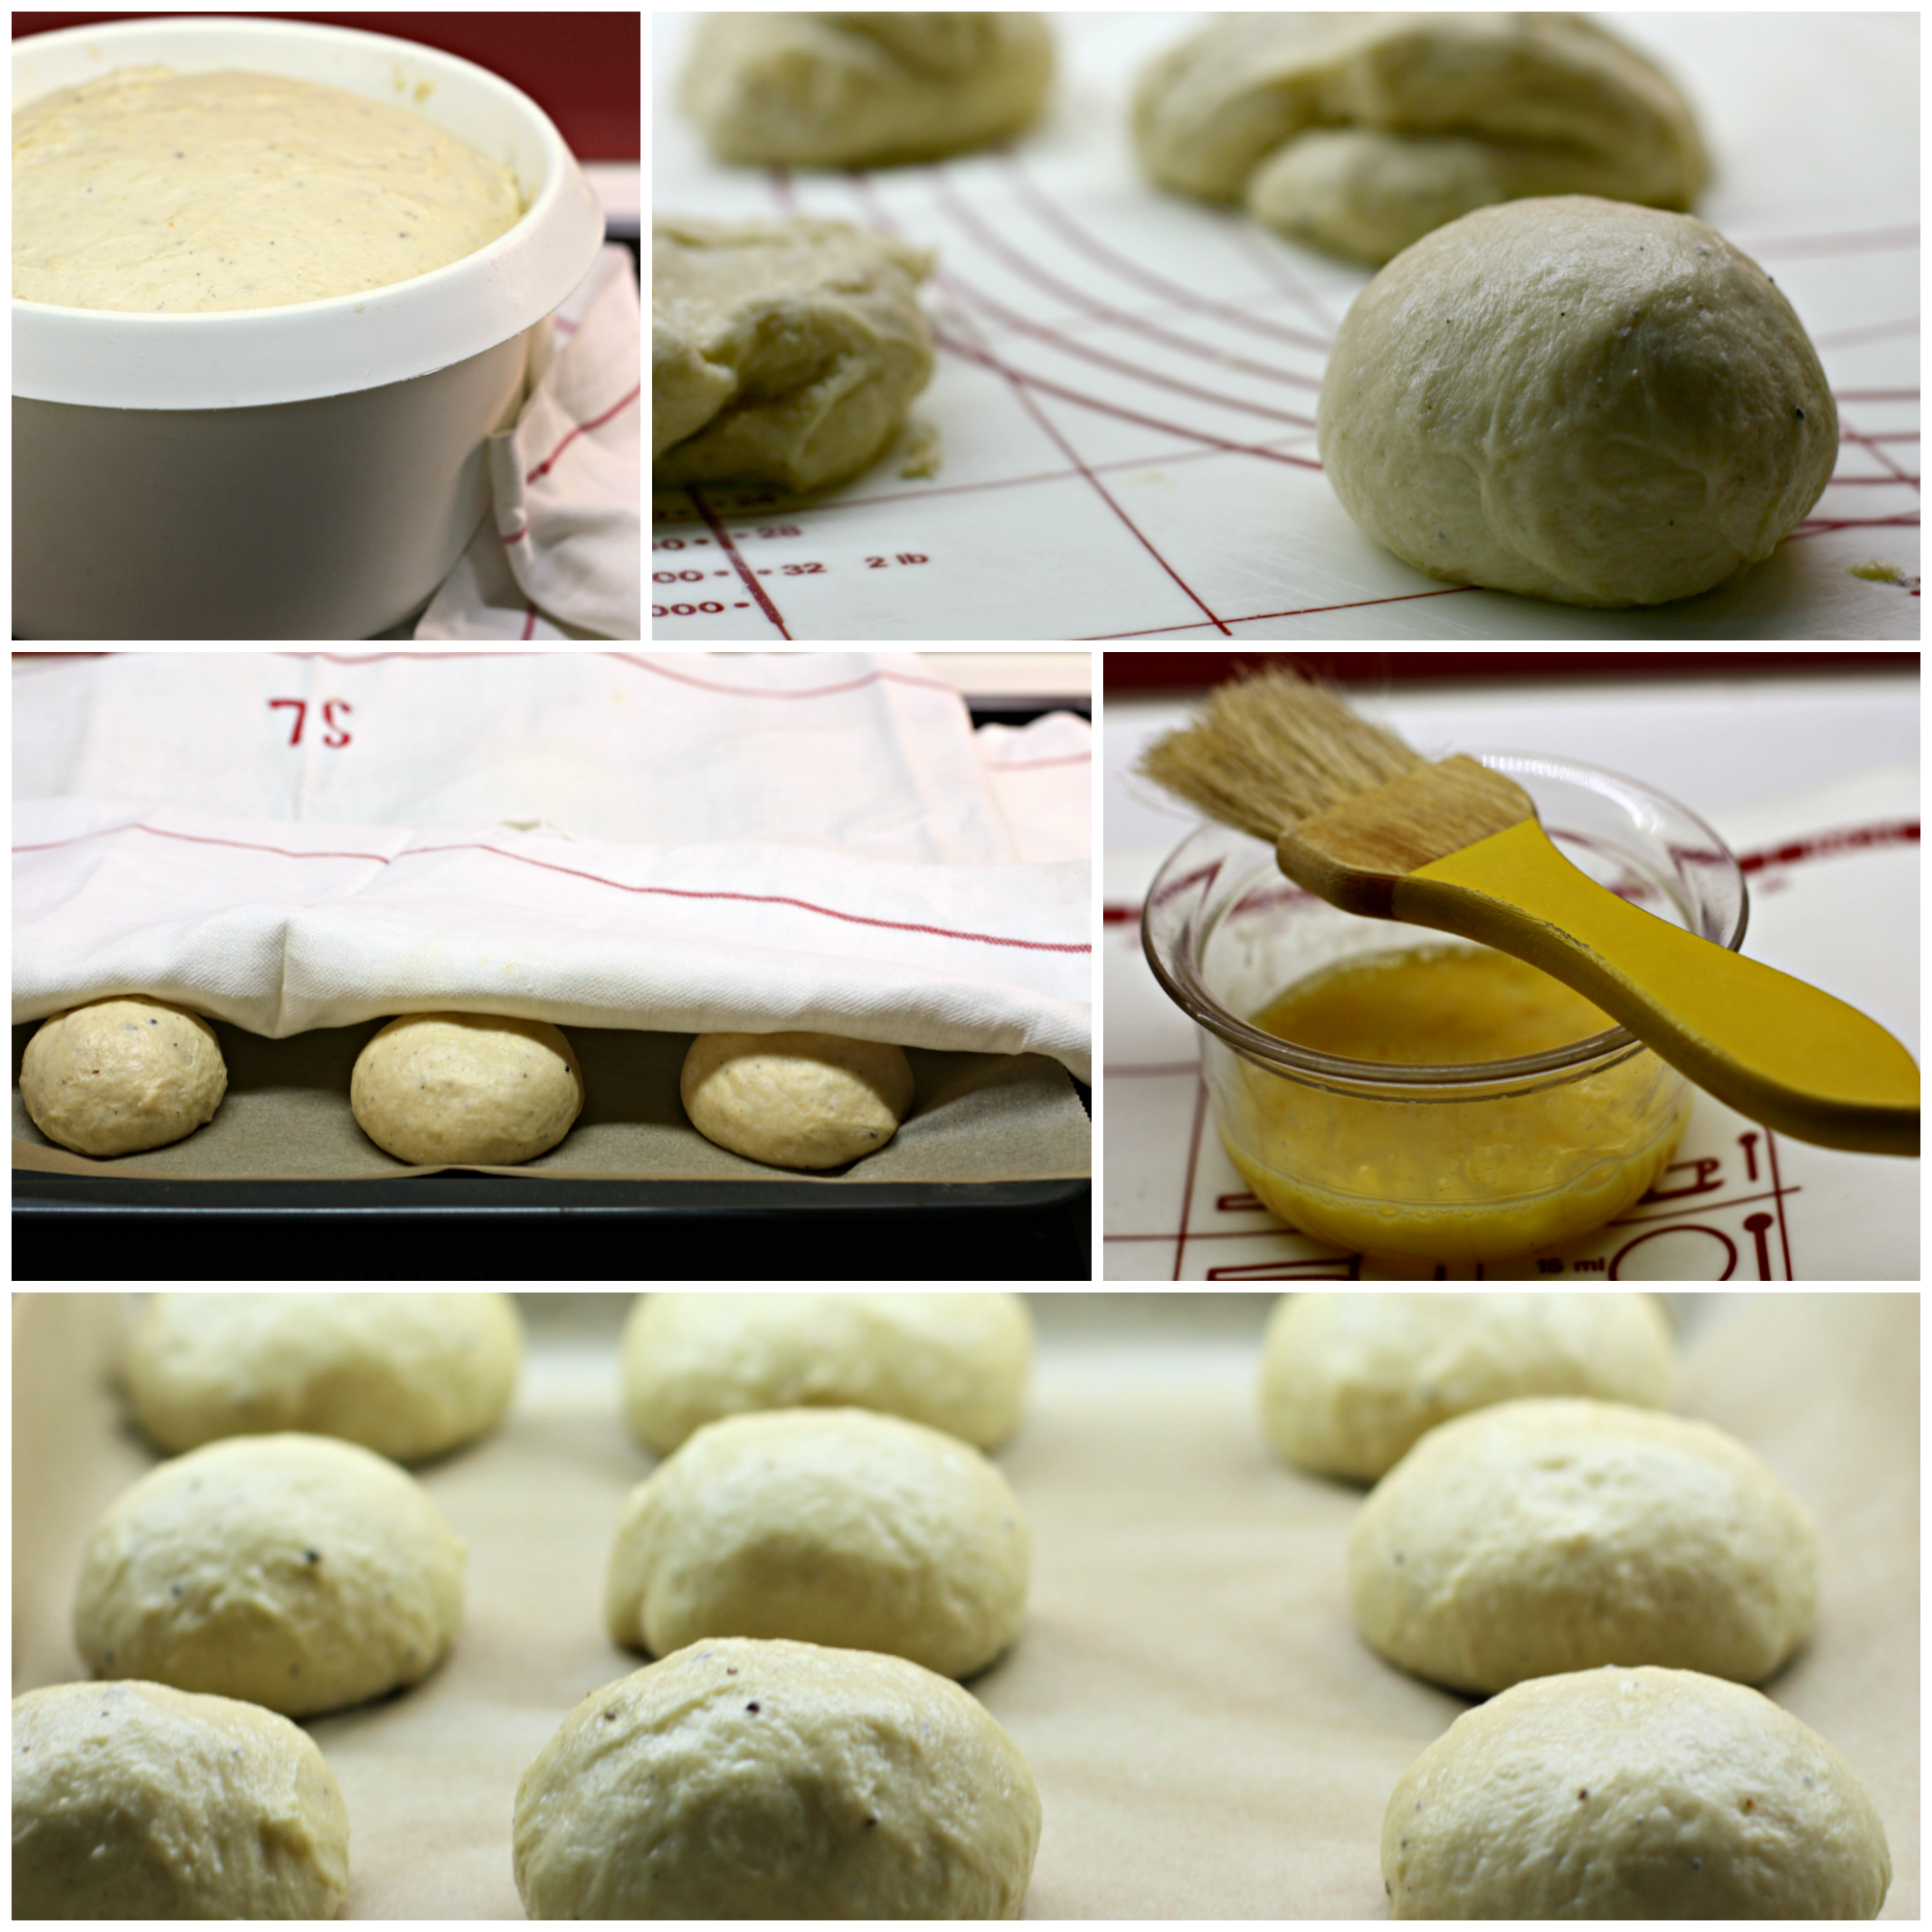
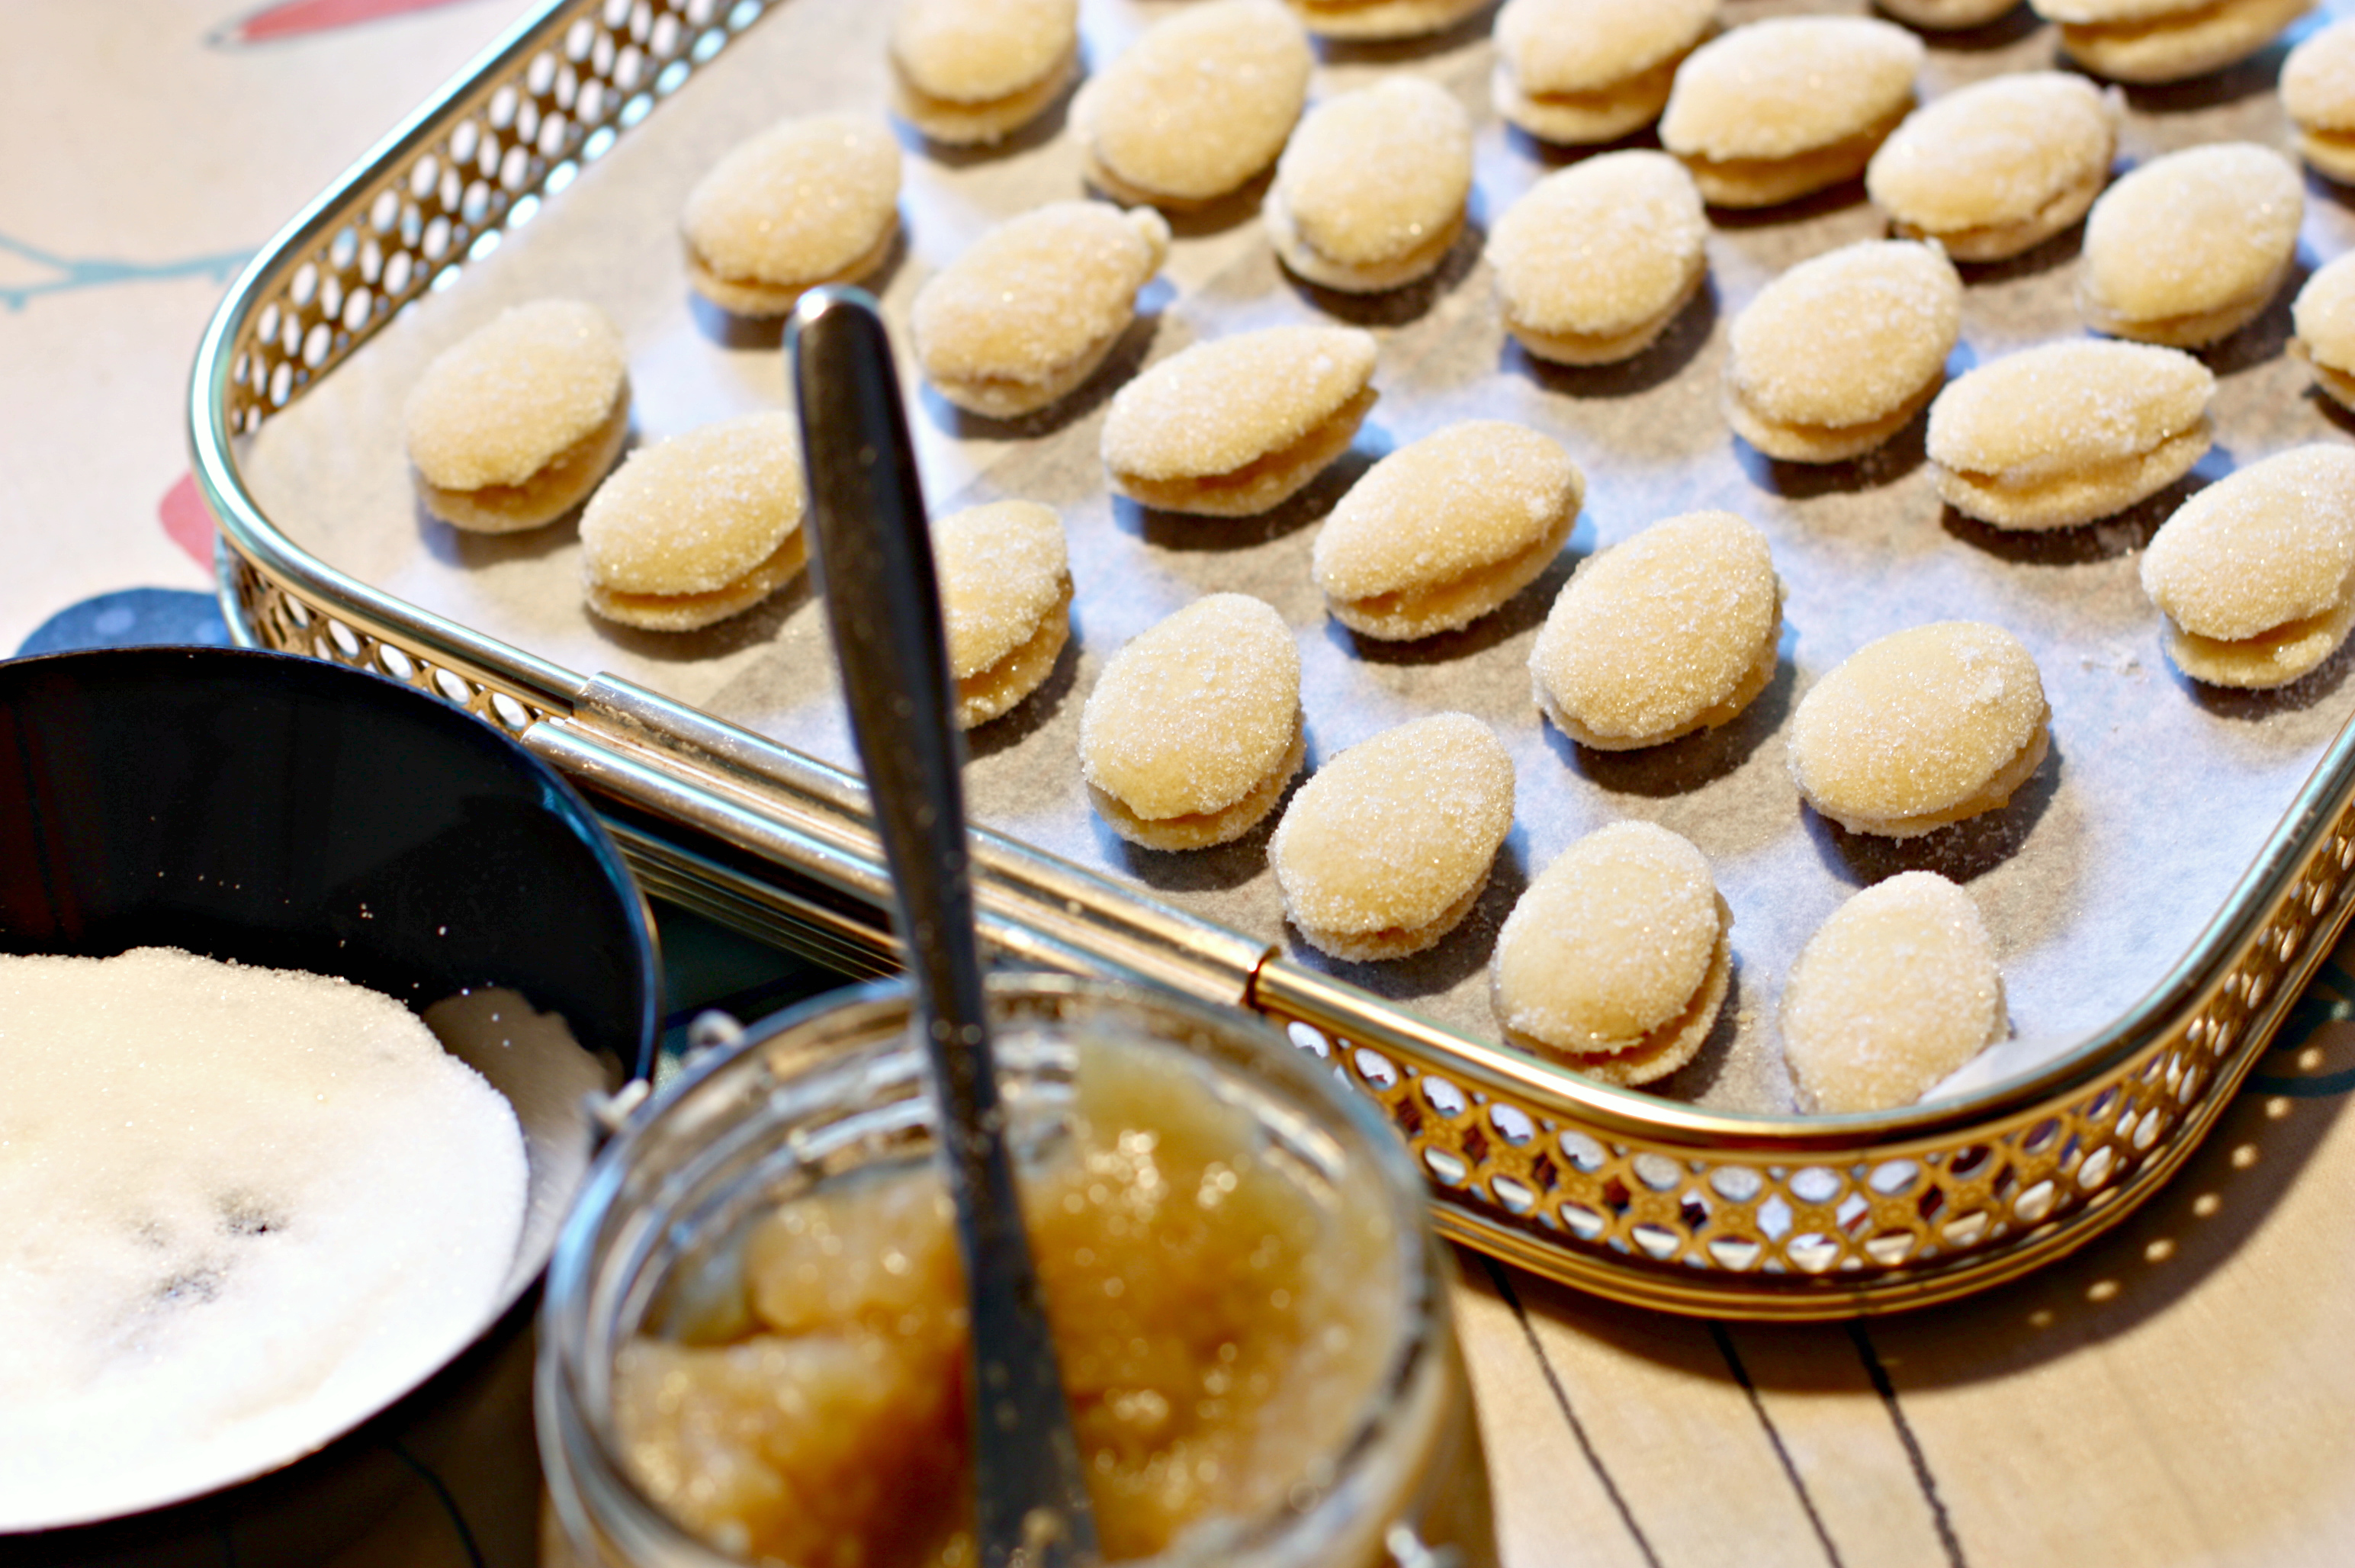
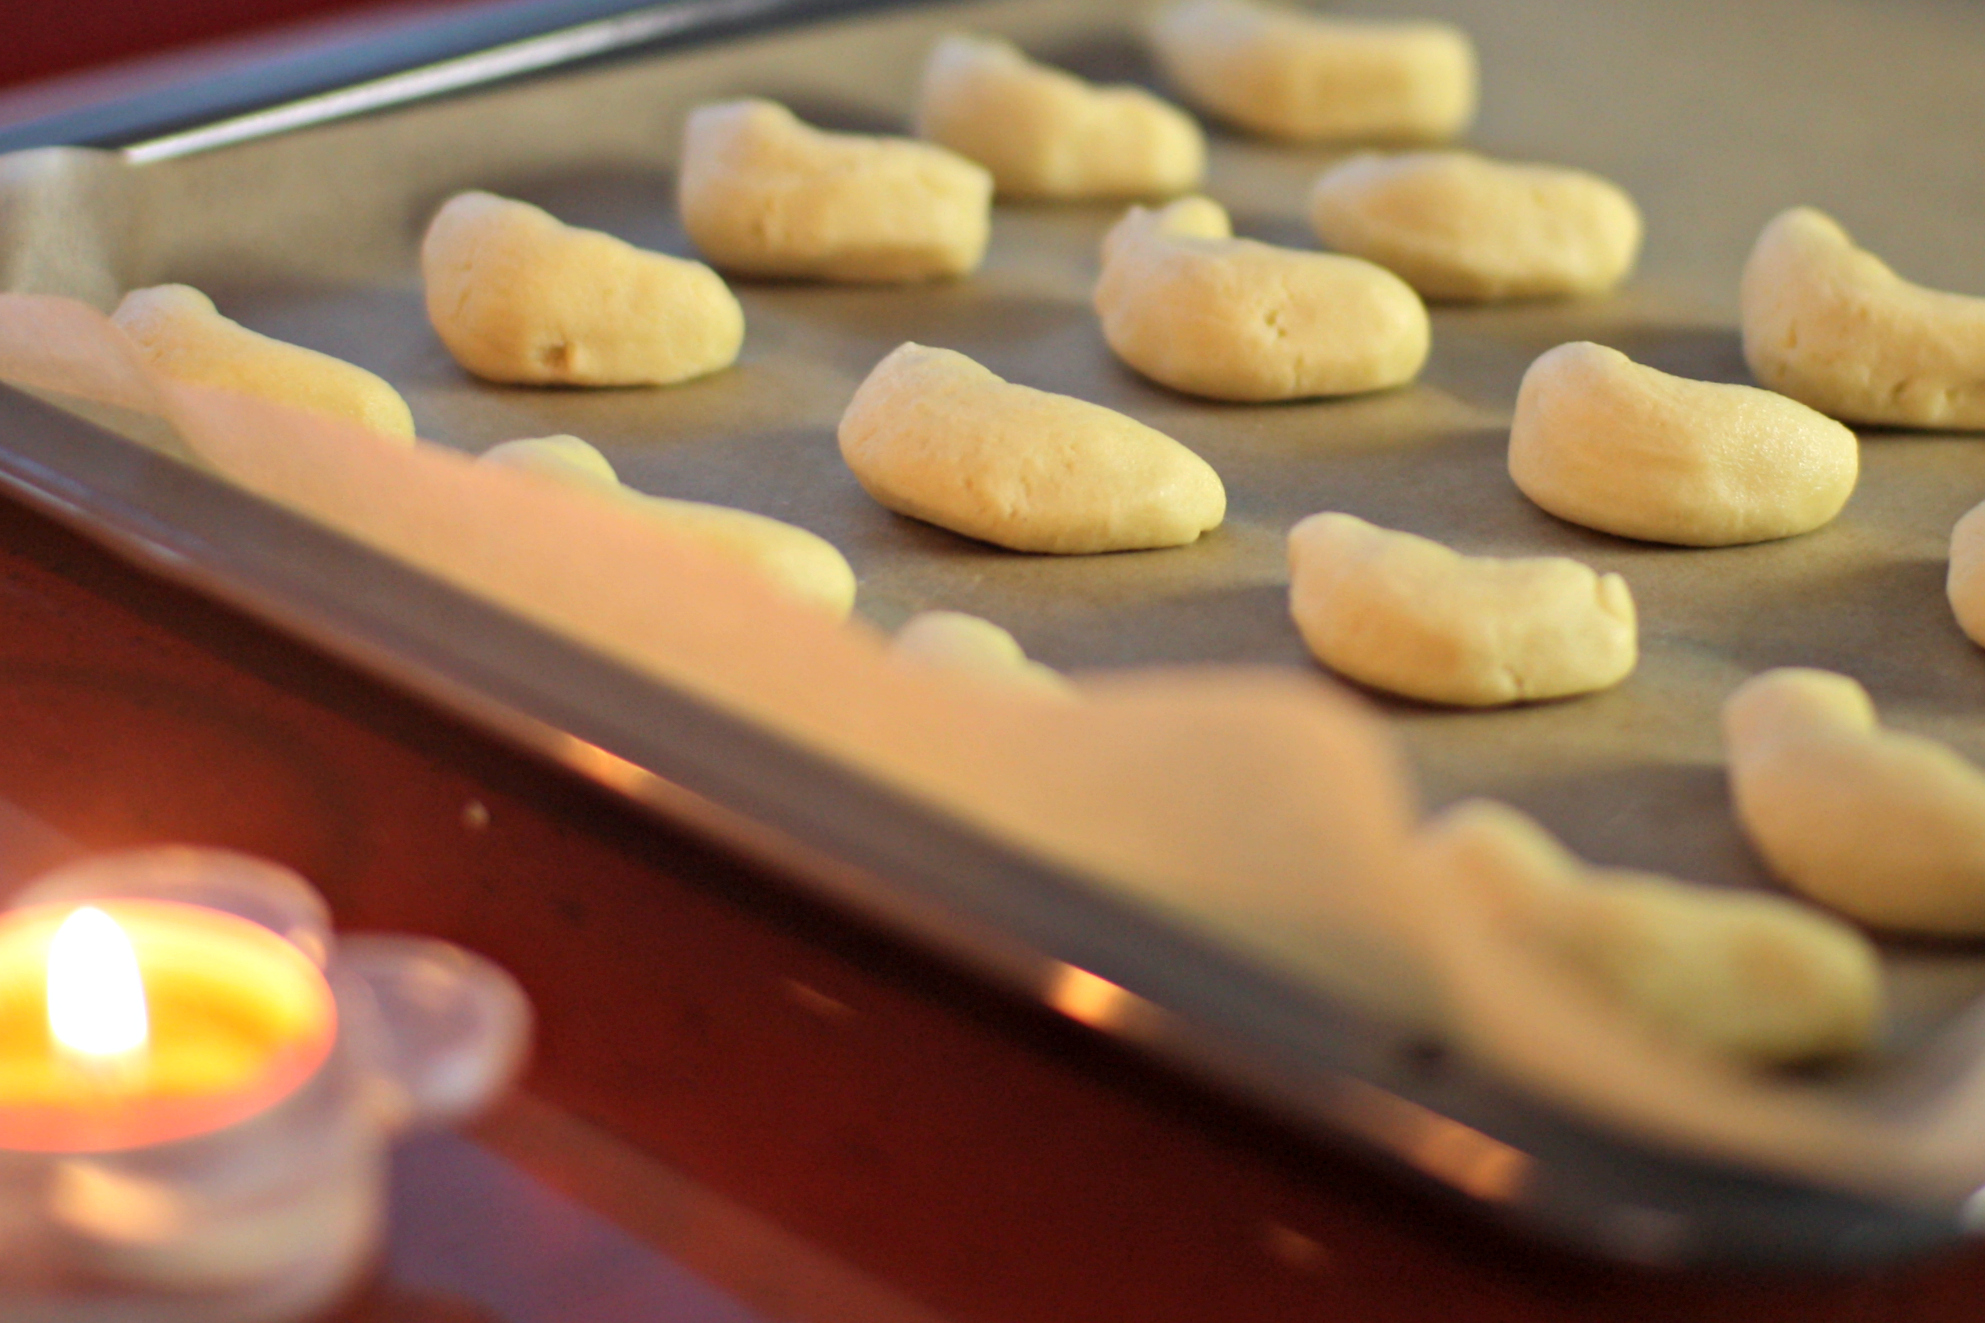
  • cut the dough, and work it into round buns (cup your hand, and use enough pressure to make a smooth surface)
  • place the buns on baking trays, covered with grease-proof sheets
  • cover with the cloth, and them rise further for a while (they are ready, when a dent pressed with a finger into a bun springs up straight away)
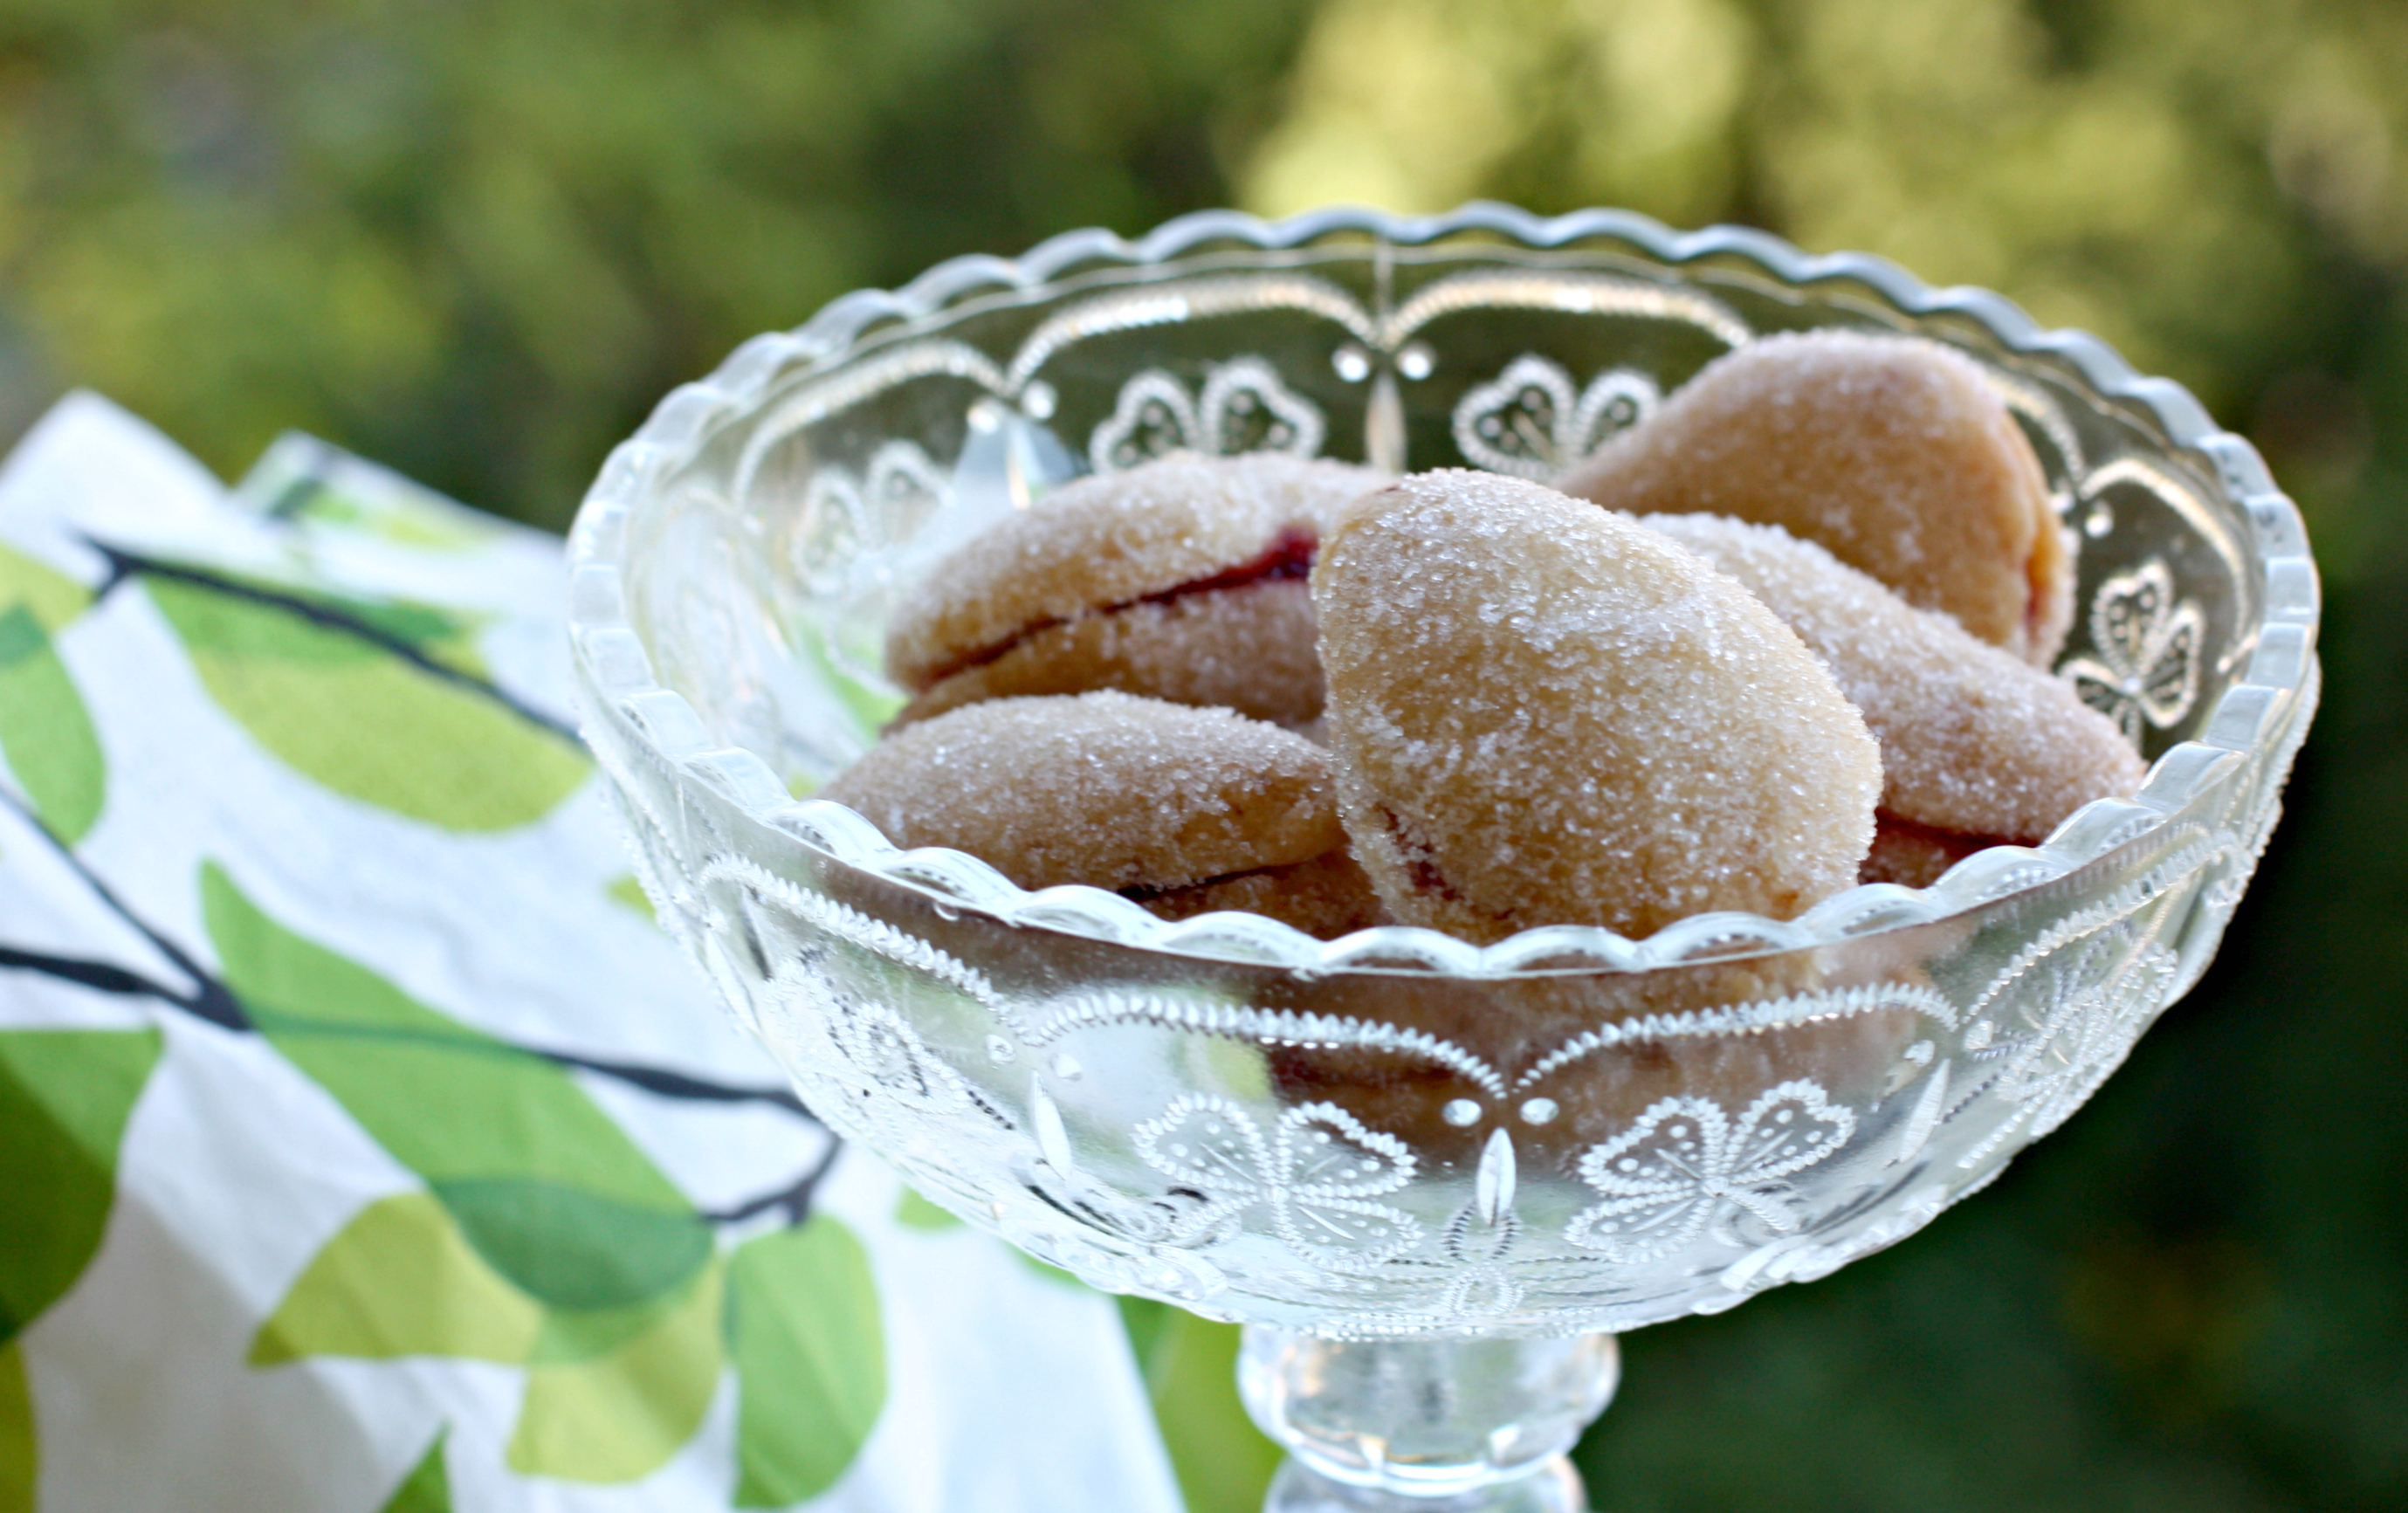
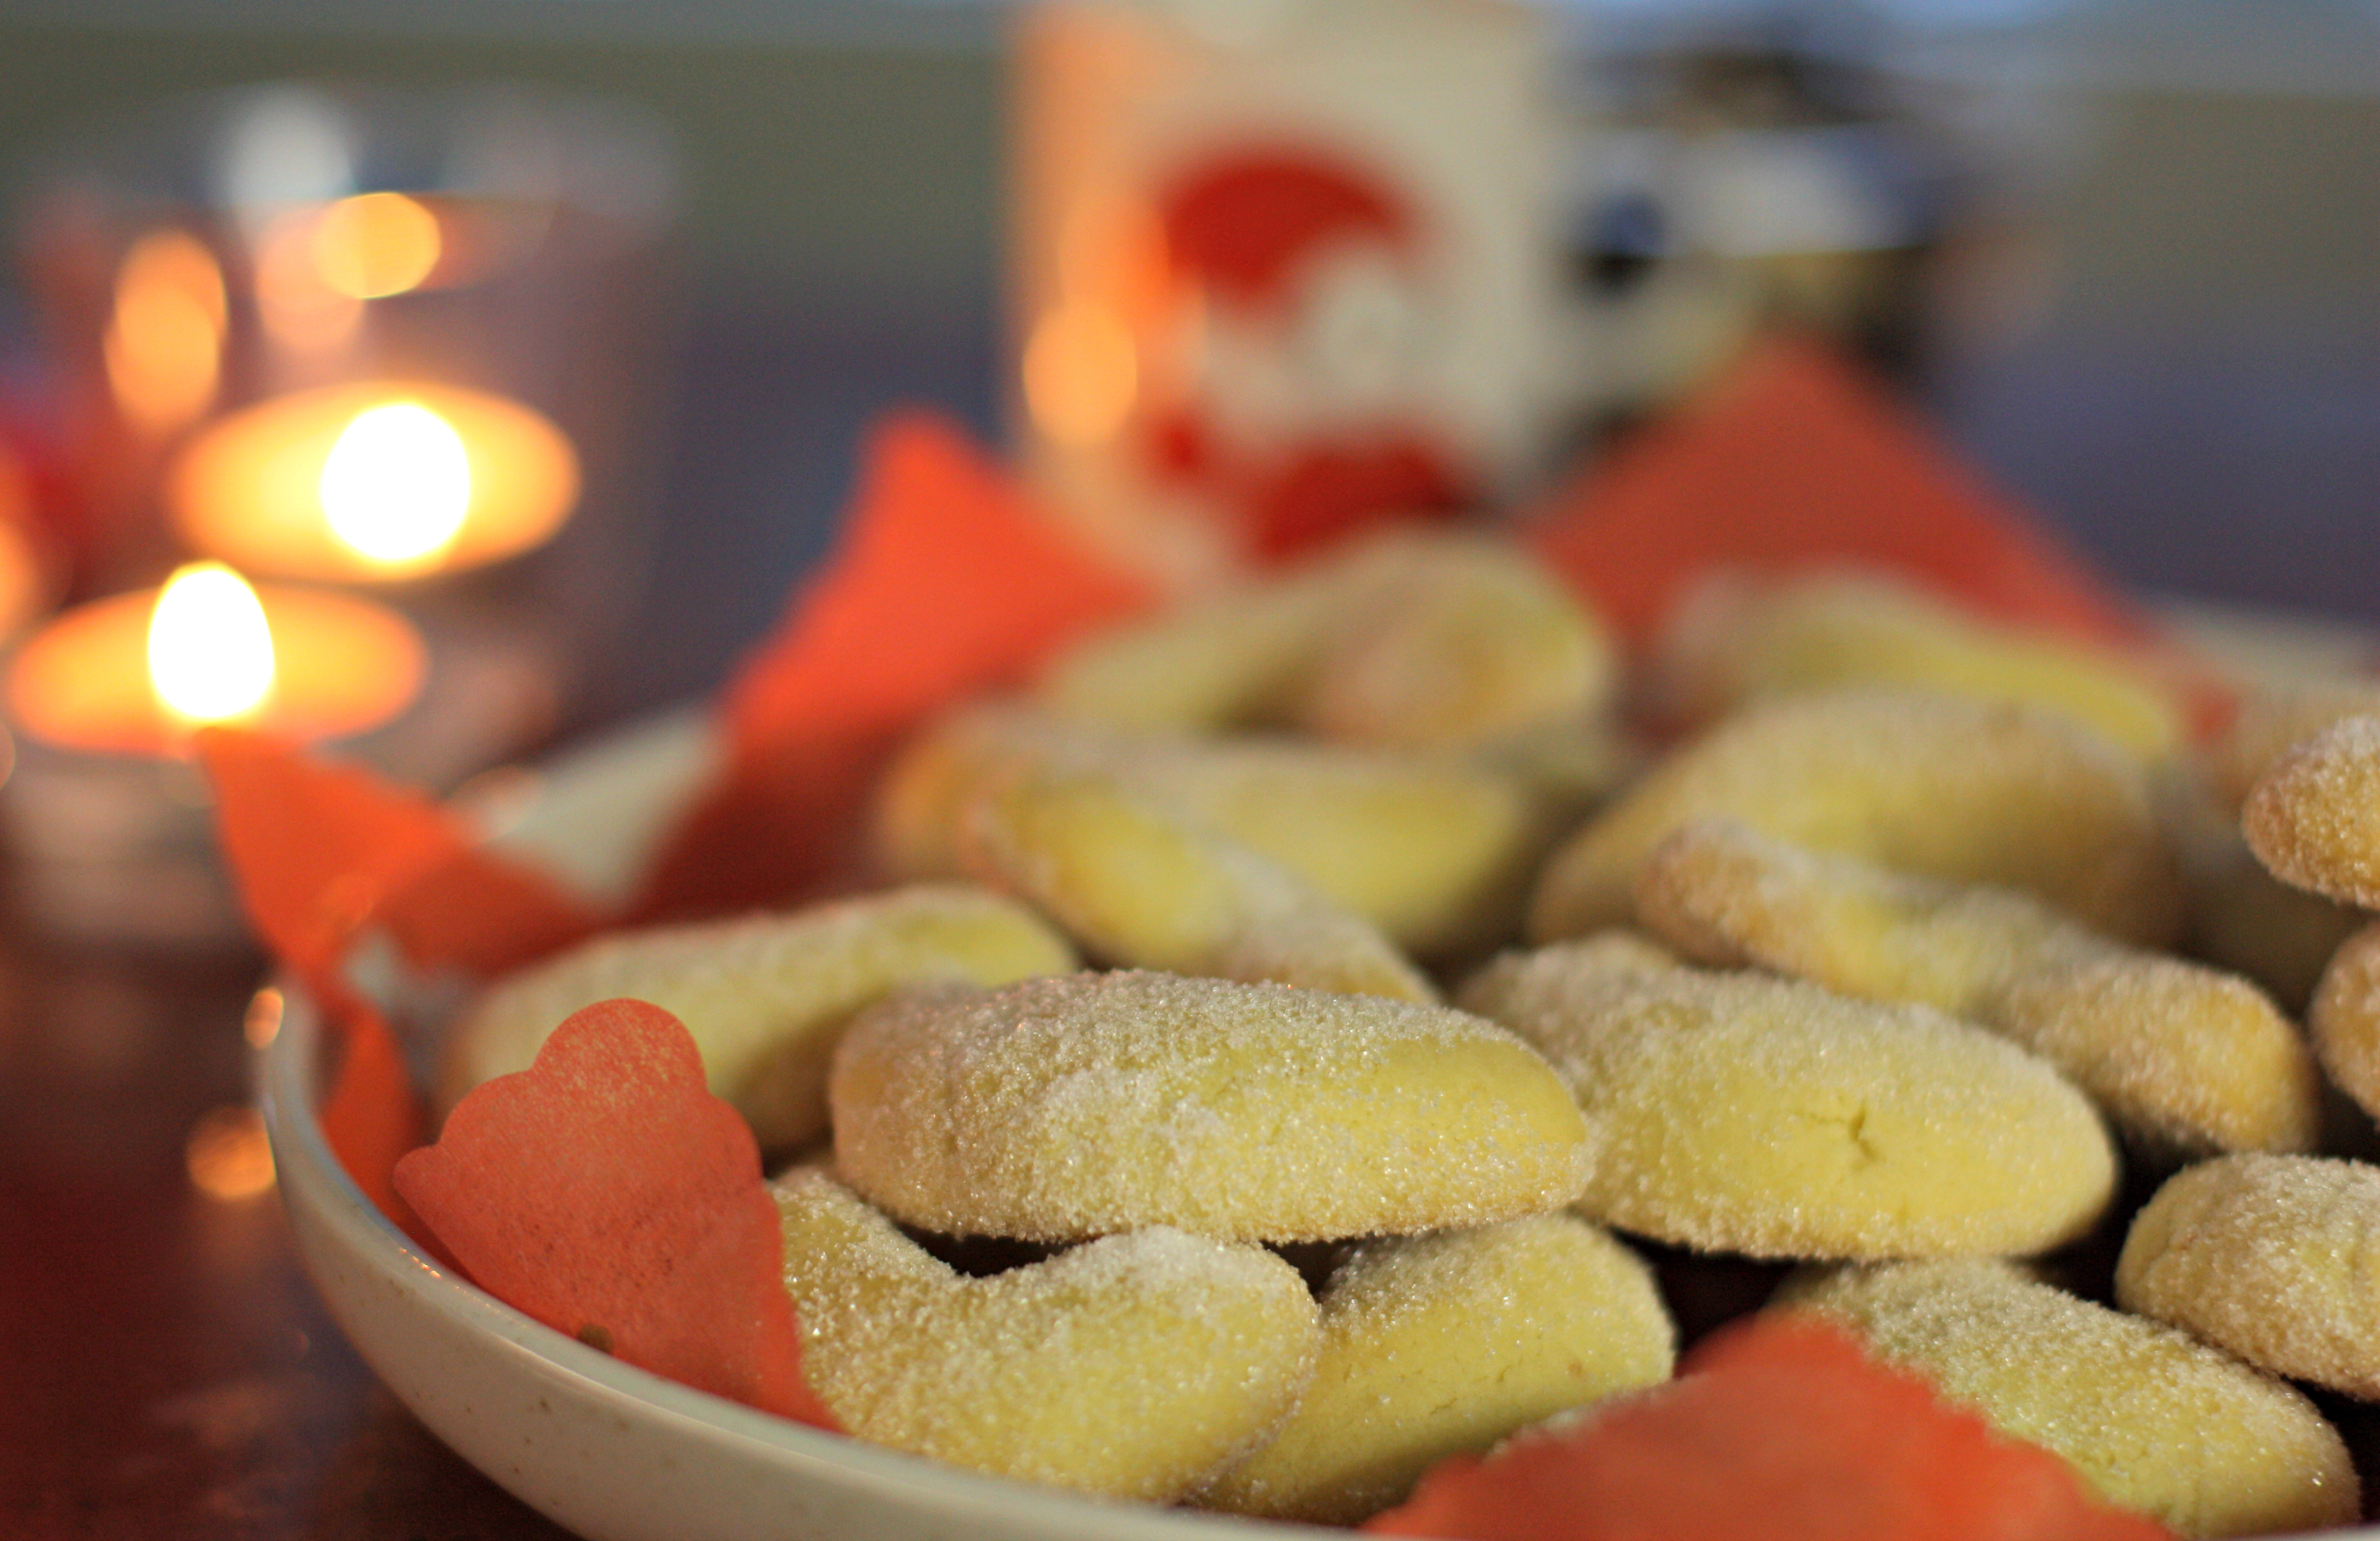
  • brush the buns with a beaten egg and sprinkle the decorating sugar on top
  • bake at 225 degrees Celsius for about 10-15 minutes

IMG_8651

If you ask me, the buns taste the best when still warm and fresh, straight from the oven. Luckily, they can also be easily frozen, and then warmed up one by one, whenever desired. So just get the coffee going, and enjoy one of life’s simple pleasures, the best comfort treat ever!

IMG_8653

Advertisement


Leave a comment

Crunchy goodness from seeds

seedcollageWe are finding it very hard to find any decent bread without wheat in any of the shops. At our age, we’ve found it better to avoid it whenever possible. Of course, there is the healthy Finnish rye bread but sometimes you just get tired of it. This is why, I am always on the lookout for good recipes for bread, or something equivalent, with no standard white flour.

This crisp “bread”, made solely of seeds and so totally gluten-free , is really nice, and the easiest recipe to make. Here in Scandinavia, we just love the variety of crispy bread. Seeds are full of all the good things, such as good fats, loads of fibre, minerals and proteins. This “bread” goes well with different cheeses, but is also very moorish just to munch on its own. A healthy alternative to crisps, while watching films, for example. Definitely worth trying, and your tummy will thank you for it!

seedycollage

INGREDIENTS

  • 1 dl sunflower seeds
  • 1 dl sesame seeds
  • 1/2 dl flax seeds
  • 1/2 pumpkin seeds
  • 1/2 chia seeds
  • 2 dl boiling water
  • 1/2 dl olive (or other) oil
  • sprinkle of sea salt

IMG_8988

THIS IS WHAT YOU DO

  • mix the 5 types of seeds in a bowl
  • add the hot water and oil and mix
  • let it stand for 10 minutes
  • press the mixture into a very thin layer on a baking tray, between two greaseproof baking sheets (it will easily be the size of the whole baking tray)
  • sprinkle some sea salt on top
  • bake in 175 degrees Celsius for about 50 minutes

seedcollage3

Once baked, cut it into small pieces – but be aware, it’s really crumbly. I never manage to produce even pieces but who cares, it’s the taste that counts, right? It’s a nice combination of slight saltiness, and roasted flavours, with a pleasant, crunchy consistency. The only downside is that it can get quite addictive! For us at least, one portion never lasts very long. But for once, you don’t have to feel guilty of treating yourself.

IMG_9009

ENJOY!

IMG_9005


Leave a comment

Runeberg’s cakes

P1110175

February. Still winter but finally, days are getting noticeably longer, and brighter on sunny days like today. The bare birch trees, with their white trunks against the winter blue sky, made me feel very Finnish today – blue and white being the colours of our national flag. A good day to feel slightly patriotic, too, as February 5th is celebrated as Runeberg’s day, commemorating the birthday of our national poet, Johan Ludwig Runeberg. Today, it’s 212 years since his birth in 1804.

We Finns are keen on signature pastries and baked goodies for special occasions. And so there is the “Runeberg cake” to enjoy today. Legend has it that it was Runeberg’s wife, a talented baker, who invented this cake for her husband.

IMG_8611

Bakeries and supermarkets start selling these small cupcake-like delicacies the moment the Christmas season is over. There is such a variety to choose from that you really have to know what you prefer. The main differences are the size, and whether they are “dry”, or moistened with some punch, or liqueur. Personally, I am for the dry version but hubby wants his drizzled with a spoonful of Swedish punch. Most years I bake my own, using a recipe passed down by my mum, another talented baker. Mine look more like cupcakes, compared to the more “tower like” commercially baked versions.

INGREDIENTS (for about 8 big ones, or 16 smaller ones)

  • 200 g butter
  • 2 dl sugar
  • 2 eggs
  • 2 dl crushed almonds
  • 2 dl bread crumbs
  • 1 dl wheat flour
  • 1 ts baking powder
  • punch (if desired)
  • raspberry marmalade
  • icing

runeberg

THIS IS WHAT YOU DO

  • cream the butter and sugar
  • add the eggs, one at the time
  • mix all the dry ingredients and add them to the mixture
  • spoon the mix into cupcake or muffin pans or moods (paper or other)
  • set the oven at 200 degrees Celcius, and bake for about 15 minutes
  • if you like, drizzle one tablespoonful of punch over the warm cakes
  • decorate with a spoonful of raspberry marmalade, with a ring of icing around it

IMG_8609 8439173092_10162a8deb_o

I’m a great fan of seasonal food and baking. Whatever you eat or drink only once a year never gets boring, and tastes extra delicious!

tulips

February is also the time for colourful tulips. So here’s a bunch to wish “Happy Birthday Mr. Runeberg”!


Leave a comment

Finnish shortbread teaspoon bites

Spring, especially May, and early summer are festive periods in Finland. May starts with a big carnival on the 1st of the month, then there is Mothers’ Day on the second Sunday, and May ends with the biggest national school celebration, upper secondary (or senior high) school graduation. This is also a popular time for weddings, with nature awakening and the famous white nights. In short, there is lots to celebrate.

IMG_4867

And celebrations and parties usually include traditional, festive recipes. Here is one of them. If you were a little nonplussed by the title, that is the name I and hubby coined today to give you an idea of what to expect. Online, I have seen people call these ‘Finnish spoon biscuits’ or ‘Finnish teaspoon cookies’, which I chose to reject for the simple reason that, to me, these are not biscuits nor cookies. The pastry definitely has the taste and consistency of British shortbread but the rest is very Finnish. To begin with, the bites are sandwiched, with some jam or marmalade in between.

But let me explain about the spoon. Many Finnish families have their own heirloom silver teaspoon for this particular purpose. It is exactly the right size, shape and depth – all essential requirements of the right spoon. It should be a small oval-shaped teaspoon, slightly pointed at one end, and not too shallow. Those who haven’t got one passed down the generations, might go to a flea market to look for one. I always go to my sister-in-law to borrow her ideal family teaspoon. The prettier the spoon, the lovelier, I would say, although, naturally, it won’t make any difference to the taste in the end! To make the bites, the pastry is pressed into the spoon to get the right shape – hence the name. In Finnish it is ‘lusikkaleipä’, which literally translates as ‘spoon bread’. A bit misleading, I know. You see, in Finnish ‘a biscuit’ is called ‘pikkuleipä’, which means ‘small bread’. Aren’t languages just great!

My sister-in-law's family spoon is simply perfect

My sister-in-law’s family spoon is simply perfect

These bites are usually baked for extra special occasions, at least in my family. They are proudly and lovingly prepared, usually by an older lady in the family. My mother baked them for my wedding, I baked them for my daughter’s school graduation party, and my sister-in-law told me that she had just baked them for her daughter’s engagement party. The rare occasions you get to taste them make them a luxurious treat that is truly appreciated. I also think the bites look very cute, like tiny sugar-coated eggs, and add a nice touch to any coffee table spread.

IMG_4856

INGREDIENTS (for c. 35 sandwiched bites)

  • 200 g butter (unsalted if you like, but works with ordinary, too)
  • 2 dl (200 ml) caster sugar
  • 4 dl (400 ml) all-purpose wheat flour
  • 1 tsp baking powder or bicarbonate of soda
  • 2 tsp vanilla sugar

FOR THE FILLING

  • jam or marmalade (firm enough, not too runny) – the most traditional ones used are apple (my favourite) or raspberry, but feel free to experiment with any you desire
  • + fine sugar for coating

Collage2

THIS IS WHAT YOU DO

  • melt the butter in a thick-bottom saucepan till it starts bubbling
  • let it bubbly on medium heat till it gets nice nutty brown (make sure you don’t burn it!)
  • pour into a bowl
  • add the sugar and let the mixture cool down
  • in another bowl mix the flour, baking powder and vanilla
  • add the dry ingredients to the cooled down butter mixture
  • press some pastry into the teaspoon to form the halves of the bites
  • put the halves onto a baking tray, which has been lined with grease-proof paper (make sure you make an even number of the halves!)
  • bake in 175° Celsius for c. 12 minutes (till just lightly brown)
  • let the halves cool down
  • spread a thin layer of jam/marmalade on one half, and press another one on top (do this very gently as the pastry is quite crumbly)
  • roll each bite in fine sugar to coat them

jul13 037

Very simple ingredients, simple procedures. Only the “spooning” is quite fiddly and time-consuming but I find it quite relaxing, tantamount to meditative. I never worry too much about making each bite exactly evenly shaped. Any rough edges, odd shapes or unevenly spread marmalade are just signs of home-baking, hand-made unique pieces. Much better and more precious than uniform factory or bakery products, in my opinion.

IMG_4871

With all that butter and sugar, obviously the bites are quite rich in calories. On the other hand, they are rather small, so I don’t think indulging in one will ruin anybody’s diet. The slightly browned butter adds a lovely, nutty, slightly bitter side taste that is totally irresistible. These Finnish delicacies really are worth trying as they literally melt in your mouth!

IMG_4877

 HAPPY CELEBRATIONS!


Leave a comment

Ladies’ summer cooler

Come May, and  my annual chase for a refreshing, bubbly ladies’ drink for summer garden parties starts. There is nothing like a cold, sparkling mix to keep sipping while nattering with girlfriends in the garden on a warm summer’s night. This year I was lucky to find an idea in a magazine for our 1st of May guests. May 1 is a special carnival type celebration in Finland, and the unofficial opening of the summer season – come rain or shine. Champagne, cava, prosecco and all other varieties of sparking wines are a must at this occasion.

The following recipe is not too sweet, it produces beautiful bubbles in the glass and is simply so deliciously delightful that I’m sure I will be mixing loads of jugfuls this summer.

drink1

INGREDIENTS (for a jug of 1 liter)

  • 2 1/2 dl elderflower juice concentrate (very cold)
  • 5 dl Italian prosecco (very cold)
  • 2 1/2 dl tonic water (very cold)
  • lots of ice cubes
  • mint leaves

drink3

Simply mix the liquids in a jug filled with ice cubes. Add the mint leaves, and leave some to garnish each glass. What could be easier and more delicious than this? And even the men enjoyed it!

IMG_4232

CHIN CHIN!


Leave a comment

Christmas baking: English-style fruitcake

Here is another family recipe that I found somewhere – don’t remember exactly where, some women’s magazine most likely – that has stuck with our family over the years. On the whole, I must admit I’m not too keen on the British idea of a fruitcake. Sorry to say but I just find them too dry and bitter, for some reason, even with the frosting! For example, I could never imagine a fruitcake for a wedding, no matter how nice the idea of keeping some of it for when your first baby is born. As a steadfast and stubborn Finn, I insisted that at our Finnish-British wedding, we had a Finnish-style cream and cloudberry cake, which would not keep for more than maximum one day!

But back the this Christmas cake recipe. I particularly like this one as it makes a lovely, rich and, most importantly, MOIST cake that just keeps maturing and getting better over the holidays. When I first baked one, 20+ years ago, it became an instant  favourite for my dear hubby. This year, the first time ever that we are spending Christmas just the two of us, I suggested what if we skipped the cake. After all, too many sweet things are not good for us at this age, you know. You should have seen hubby’s face of disappointment! Okey, I don’t mind, let’s bake one anyway.

Every year, the cake comes out slightly different. It depends on the amount and type of fruit, and the spirit I use. After many experiments, I must say dark rum works the best for me. But I’ve tried brandy – fine, or like this year, some rum punch from the Île de la Réunion in the Indian Ocean. Look forward to tasting this year’s edition! Another candle-lit baking session, here we go.

IMG_1223a

INGREDIENTS

  • 240 gr baking margarine (or butter)
  • 240 gr brown sugar
  • 1 1/2 tbs dark syrup
  • 4 eggs
  • 4 dl plain flour
  • 1 tsp baking powder
  • 1 tsp ground cinnamon, cloves and nutmeg
  • 1 tsp vanilla sugar
  • a pinch of salt
  • 2 tbs dark rum (or spirit of your choice)
  • 250 gr mixed dried fruit – cut into small pieces
  • 125 gr raisins
  • 1 tbs candied orange peel
  • 1 dl crushed hazelnuts
  • 3 slices of tinned pineapple – cut into chunks
  • c. 20 red and green candied cherries

cakecollage1

THIS IS WHAT YOU DO

  • Cream the butter and brown sugar.
  • Add the syrup and eggs, one at a time. Add about 1 tbs of flour with each egg to prevent curdling.
  • Mix the flour and baking powder, dry spices, vanilla and salt. Add to the mixture.
  • Add all the fruit, the nuts and the spirit.
  • Spoon half of the mixture into a traditional round cake tin that has been carefully buttered and dusted with breadcrumbs.
  • Even the surface and stick the candied cherries in the middle. Then spoon in the rest of the mixture.
  • Bake in 150 degrees Celsius for 1.5 hours.
  • Leave to cool in the tin for a while before removing it onto a tin foil. Let it cool down properly overnight, before wrapping it in the foil, and placing in the fridge.
  • Let the cake “mature” for preferably at least one week before cutting the first slices.

IMG_1213

I wish I had a “scratch and smell” picture here as the spicy, aromatic, Christmasy smell filling our kitchen was so very inviting and festive. The sort of family memory that will hopefully stay in everybody’s minds for ever!

IMG_1226IMG_1232

 MERRY CHRISTMAS ❤


Leave a comment

Christmas baking: almond crescents

FacebookcollageThere is nothing like waking up to a white scenery through the window. No sign of snow last night but it had quietly come down while we were asleep, totally unaware. The whiteness created just the right ambience for some Christmassy baking. To really get in the mood, I need to put some Christmas music on – old-fashioned cassettes, meticulously compiled by hubby years ago, can you believe it! – light the candles, and warm up some mulled wine. Perfect! IMG_1149 This recipe was given to me 20+ years ago by a Canadian friend, and I have baked them every Christmas ever since. A true family favourite! Unlike many other labour-intensive Christmas recipes, these crescents are simple and easy to bake. And they taste heavenly – buttery, almondy, shortbready-type, sugar-coated goodness that practically melts in your mouth.

INGREDIENTS

  • 250 gr butter
  • 70 ml sugar (extra fine)
  • 500 ml ordinary plain flour
  • 1 tbsp water
  • 250 ml ground almonds (almond “flour” can be bought in small packets, 75 g makes c. 200 ml)
  • 2 tsp vanilla (or substitue vanilla sugar)

THIS IS WHAT YOU DO

  • Cream butter, sugar and vanilla.
  • Add water.
  • Add flour, mixing well.
  • Add almonds (I do this last part by hand, to get the right consistency, adding flour or drops of water as needed).
  • With your fingers, form small crescents.
  • Place them on a baking tray, covered with a baking sheet.
  • Bake in 180 degrees Celsius, for about 13-15 minutes.
  • When still warm, roll in the extra fine sugar.

crescentcollageIMG_1109 The crescents won’t expand in the oven, so they can be placed close together on the baking tray. I am not too particular about their shape or size, as mine don’t need to be perfectly uniform. I simply roughly estimate the size, crescent by crescent. Sure sign of home baked goodies, isn’t it?

Et voilà, enjoy! (Great for gifts, too.)

IMG_1121IMG_1144IMG_1122


Leave a comment

Easy and delicious vegetarian lasagne

Preparing the traditional meat lasagne is quite time-consuming, with first the two different sauces, and then assembling it all together. I must say I’ve given it up altogether as it’s quite heavy as well. For a much lighter version, this has become my all-time favourite lasagne recipe, which, thanks to the crunchy bits of vegetables, gives a mouthfeel and texture just for my liking. What’s more, preparing this dish takes considerably less time, too. Good for any season really but tasted especially good today, on a chilly and wet autumn day. Nice, nice and tasty – to borrow one of my late mother-in-law’s favourite sayings!

LasagneveggiesFOR THE VEGETABLE SAUCE

  • 2 tbs oil
  • 1-2 onions, peeled and chopped
  • 4 cloves of garlic, peeled and crushed (or chopped)
  • 1 small gourgette, cut into pieces
  • 1 red pepper, seeded and cut into pieces
  • 3-4 carrots, peeled and chopped
  • 1 tin (400 g) of chopped tomatoes (possibly the variety with herbs)
  • 2 dl water
  • 1 vegetable stock cube
  • 1 tbs honey
  • 2-3 tbs soy sauce
  • black pepper
  • cayenne pepper
  • oregano (or other favourite herbs – dried or fresh)
  • 2-3 tbs brown maize thickener

Apart from the onion, I don’t chop the vegetables too small, not to lose the texture. Heat the oil on the bottom of a sauce pan, add all the vegetables and fry them for a while over a medium heat. Add the tin of tomatoes, water, stock cube and all the spices. Cook over medium heat for about 10 mins. Add the maize thickener and set aside.

Lasagne2FOR THE WHITE SAUCE 

  • 400 g cottage cheese (the Finnish variety has its own lovely, “squeaky” consistency)
  • 2 dl crème fraîche
  • 1 egg
  • herbal salt
  • lemon pepper

In a bowl, simply mix all the ingredients together with a spoon.

TO MAKE THE LASAGNE

  • 12 sheets of full grain lasagne
  • 100 g cheese (I use emmental)
  • a lasagne dish (mine is  20 x 28 cm

Lasagne31. Preheat the oven to 175°C.

2. Cover the bottom of the dish with a little bit of the vegetable sauce. Then follow with 3 lasagne sheet, a good layer of vegetable sauce, and a few spoonfuls of the white sauce. Add two more similar layers, finishing with the rest of the white sauce to cover the whole surface. Sprinkle the grated emmental on top.

3. Cook for 1 hour. Half way through, cover with foil to avoid drying the cheese too much.

Ecco!

lasagne15BUON APPETITO!

PS. Tastes really good warmed up even on the following day!


Leave a comment

My goulash soup

autumn leavesAs the autumn days are getting colder, it’s lovely to start making warming soups and stews. This is a dish that I have been making for two decades, a real family favourite. I found the recipe in a women’s magazine but the recipe has been adjusted over the years so that now it would be slightly different every time as I don’t necessarily follow strict measurements any more. It is a hearty soup – or maybe more like a stew – and we like it quite hot and spicy, packed with onions and garlic. Everyone can modify the spices to their liking, and some might like to use only half of the meat and add more vegetables.  I usually make a big potful at once as the flavours keep maturing, and the soup is even tastier on the second day!

INGREDIENTS

  • 2 big onions, chopped
  • 2-4 cloves of garlic, crushed
  • 800 g thinly stripped beef (we can buy this ready-made in packages here)
  • olive oil for frying
  • 2 x 5 dl water
  • 2 beef stock cubes
  • 1 tbs wheat flour
  • 1-2 tbs paprika powder
  • 1-2 tbs marjoram
  • 1-2 tbs caraway seeds
  • black pepper / cayenne pepper / chilli powder / fresh chilli (depending on your taste)
  • 8-12 potatoes, peeled and cut into four, or the size wanter (choose a firm variety)
  • 2 red peppers, seeded and cut into strips
  • 2 big beefsteak tomatos, diced (or 3-4 smaller ordinary tomatoes)

soup1

PROCEDURE

  1. In a big saucepan, start frying the onion and garlic, and add the strips of beef. Fry until the meat has turned brown/grey.
  2. Sprinkle the flour and spices into the meat.
  3. Add half of the water (5 dl) and 1 stock cube, and let the meat simmer at low heat for 1 hour. Sounds long but this is really necessary to make the meat nice and tender
  4. In the meantime, prepare the vegetables.
  5. First add the potatoes and the other half of the water and the second stock cube.
  6. Boil for 15-20 minutes, or until the potatoes are ‘al dente’.
  7. Add the peppers and tomatoes and boil for another 5-10 minutes

Goulash soup Goulash soup 2

Et voilà. A dollop of smetana or some cottage cheese goes well with the soup, and takes the edge off the spiciness.  

Goulash soup 3

BON APPETIT!

PS. Just realised that the soup actually reflects the delicious, warm autumn colours. Maybe that’s another reason why this season always brings this recipe out!

Pepper plant